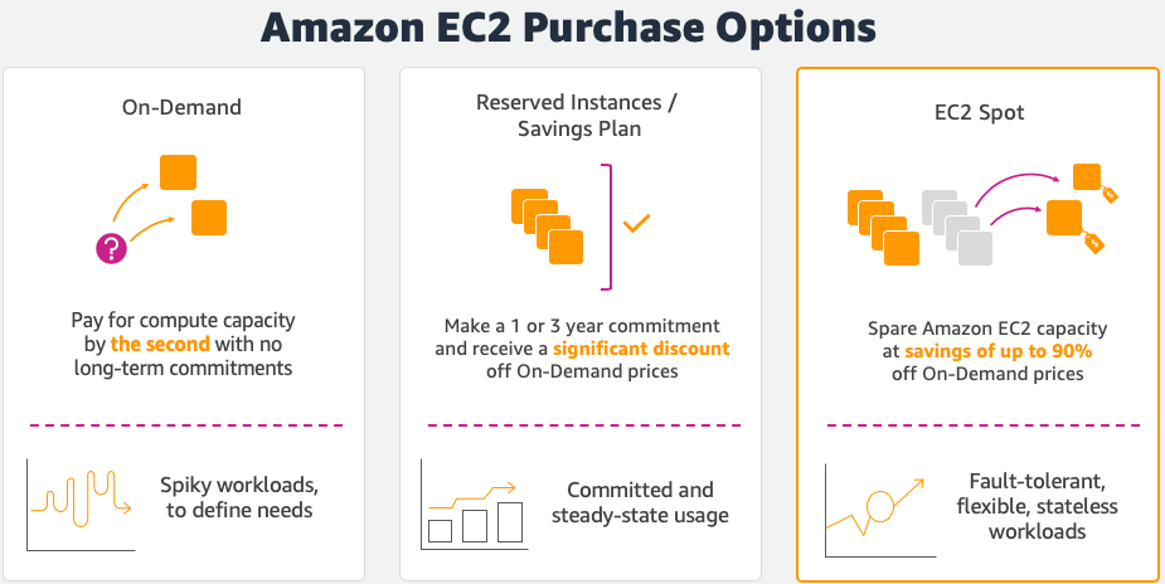
We now have a dedicated Spot nodegroup with the capacity-optimized allocation strategy that should decrease the chances of Spot Instances being interrupted, and we configured Jenkins to run jobs on those EC2 Spot Instances. We also installed the Naginator plugin which will allow us to retry failed jobs.
sleep 2m; echo "Job finished successfully"
20
for Fixed delay3
Since this workshop module focuses on resilience and cost optimization for Jenkins jobs, we are running a very simple job that will not perform any actions other than to sleep for 2 minutes and echo a message that it finished successfully to the console.
1. On the project page for Sleep-2m, in the left pane, click the Build Now button
2. Browse to the Kube-ops-view tool, and check that a new pod was deployed with a name that starts with jenkins-agent-
Execute the following command on Cloud9 terminal
kubectl get svc kube-ops-view | tail -n 1 | awk '{ print "Kube-ops-view URL = http://"$4 }'
3. Check the node on which the pod is running - is the nodegroup name jenkins-agents-2vcpu-8gb-spot? If so, it means that our labeling and Node Selector were configured successfully.
4. Run kubectl get pods
, and find the name of the Jenkins master pod (i.e cicd-jenkins-123456789-abcde)
5. Run kubectl logs -f <pod name from last step>
6. Do you see log lines that show your job is being started? for example “Started provisioning Kubernetes Pod Template from kubernetes with 1 executors. Remaining excess workload: 0”
7. Back on the Jenkins Dashboard, In the left pane, click Build History and click the console icon next to the latest build. When the job finishes, you should see the following console output:
Building remotely on jenkins-agent-bwtmp (cicd-jenkins-slave) in workspace /home/jenkins/agent/workspace/Sleep-2m
[Sleep-2m] $ /bin/sh -xe /tmp/jenkins365818066752916558.sh
+ sleep 2m
+ echo Job finished successfully
Job finished successfully
Finished: SUCCESS
Now that we ran our job successfully on Spot Instances, let’s test the failure scenario. Since we cannot simulate an EC2 Spot Interruption on instances that are running in an EC2 Auto Scaling group, we will demonstrate a similar effect by simply terminating the instance that our job/pod is running on.
kubectl get po --selector jenkins/cicd-jenkins-slave=true -o wide
to find the Jenkins agent pod and the node on which it is runningkubectl describe node <node name from the last command>
to find the node’s EC2 Instance ID under the alpha.eksctl.io/instance-id
labelaws ec2 terminate-instances --instance-ids <instance ID from last command>
Now that we successfully ran a job on a Spot Instance, and automatically restarted a job due to a simulated node failure, let’s move to the next step in the workshop and autoscale our Jenkins nodes.