...at an AWS event
 Please note: this EKS and Karpenter workshop version is now deprecated since the launch of Karpenter v1beta, and has been updated to a new home on AWS Workshop Studio here: Karpenter: Amazon EKS Best Practice and Cloud Cost Optimization.
This workshop remains here for reference to those who have used this workshop before, or those who want to reference this workshop for running Karpenter on version v1alpha5.
Running the workshop at an AWS Event
Only complete this section if you are at an AWS hosted event (such as re:Invent, Kubecon, Immersion Day, or any other event hosted by an AWS employee). If you are running the workshop on your own, go to: Start the workshop on your own.
Login to the AWS Workshop Portal
If you are at an AWS event, an AWS account was created for you to use throughout the workshop. You will need the Event access code provided to you by the event’s organizers.
- Connect to the portal by browsing to Workshop Studio.
- Sign in by clicking on the
Email one-time password (OTP)button. - Enter your email address in the text box, and click Send Passcode. You should receive a passcode within 5 minutes. Enter the passcode in the text box, and click Sign in*.
- Enter the
Event access codein the text box, and click Next - Review the
Terms and Conditionsand check theI agree with the Terms and Conditionsbox, and click Join event - In the left panel, click Open AWS console
You are now logged in to the AWS console in an account that was created for you, and will be available only throughout the workshop run time.
In the interest of time we have deployed everything required to run Karpenter for this workshop. All the pre-requisites and dependencies have been deployed. The resources deployed can befound in this CloudFormation Template (eks-spot-workshop-quickstarter-cnf.yml). The template deploys resourcess such as (a) An AWS Cloud9 workspace with all the dependencies and IAM privileges to run the workshop (b) An EKS Cluster with the name eksworkshop-eksctl and (c) a EKS managed node group with 2 on-demand instances.
Getting access to Cloud9
In this workshop, you’ll need to reference the resources created by the CloudFormation stack.
-
On the AWS CloudFormation console, select the stack name eks-spot-workshop-quickstart-cnf in the list.
-
In the stack details pane, click the Outputs tab.
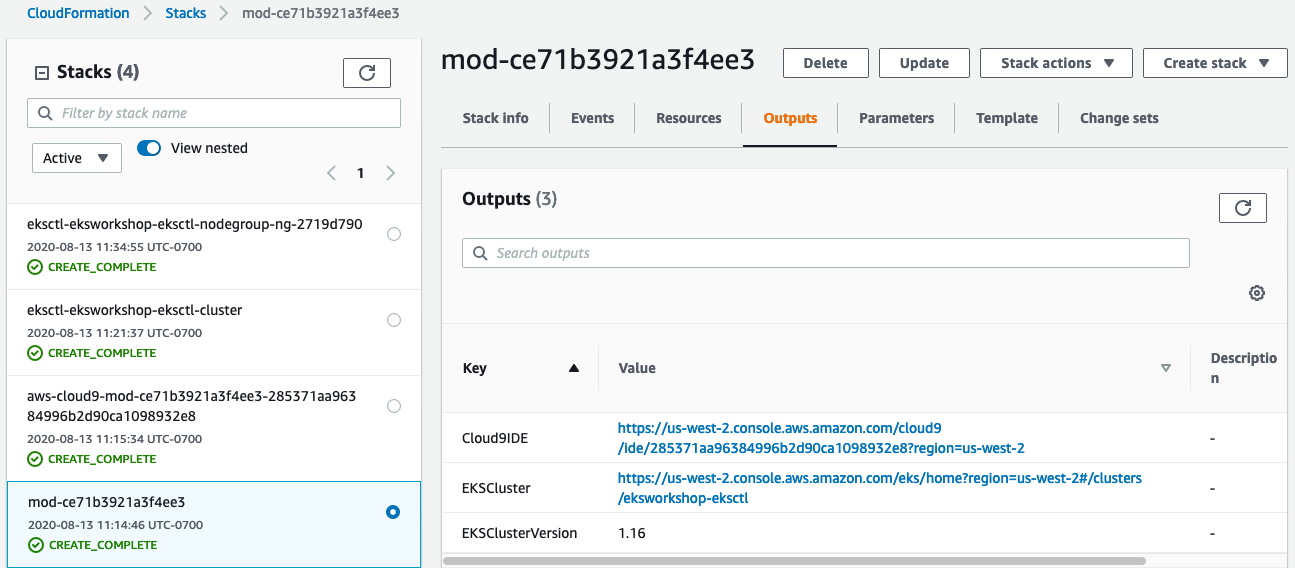
It is recommended that you keep this tab / window open so you can easily refer to the outputs and resources throughout the workshop.
you will notice additional Cloudformation stacks were also deployed which is the result of the stack that starts with mod-. One to deploy the Cloud9 Workspace and two other to create the EKS cluster and managed nodegroup.
Launch your Cloud9 workspace
- Click on the url against
Cloud9IDEfrom the outputs
{{% notice info %}} Please note: this EKS and Karpenter workshop version is now deprecated since the launch of Karpenter v1beta, and has been updated to a new home on AWS Workshop Studio here: Karpenter: Amazon EKS Best Practice and Cloud Cost Optimization.
This workshop remains here for reference to those who have used this workshop before, or those who want to reference this workshop for running Karpenter on version v1alpha5. {{% /notice %}}
-
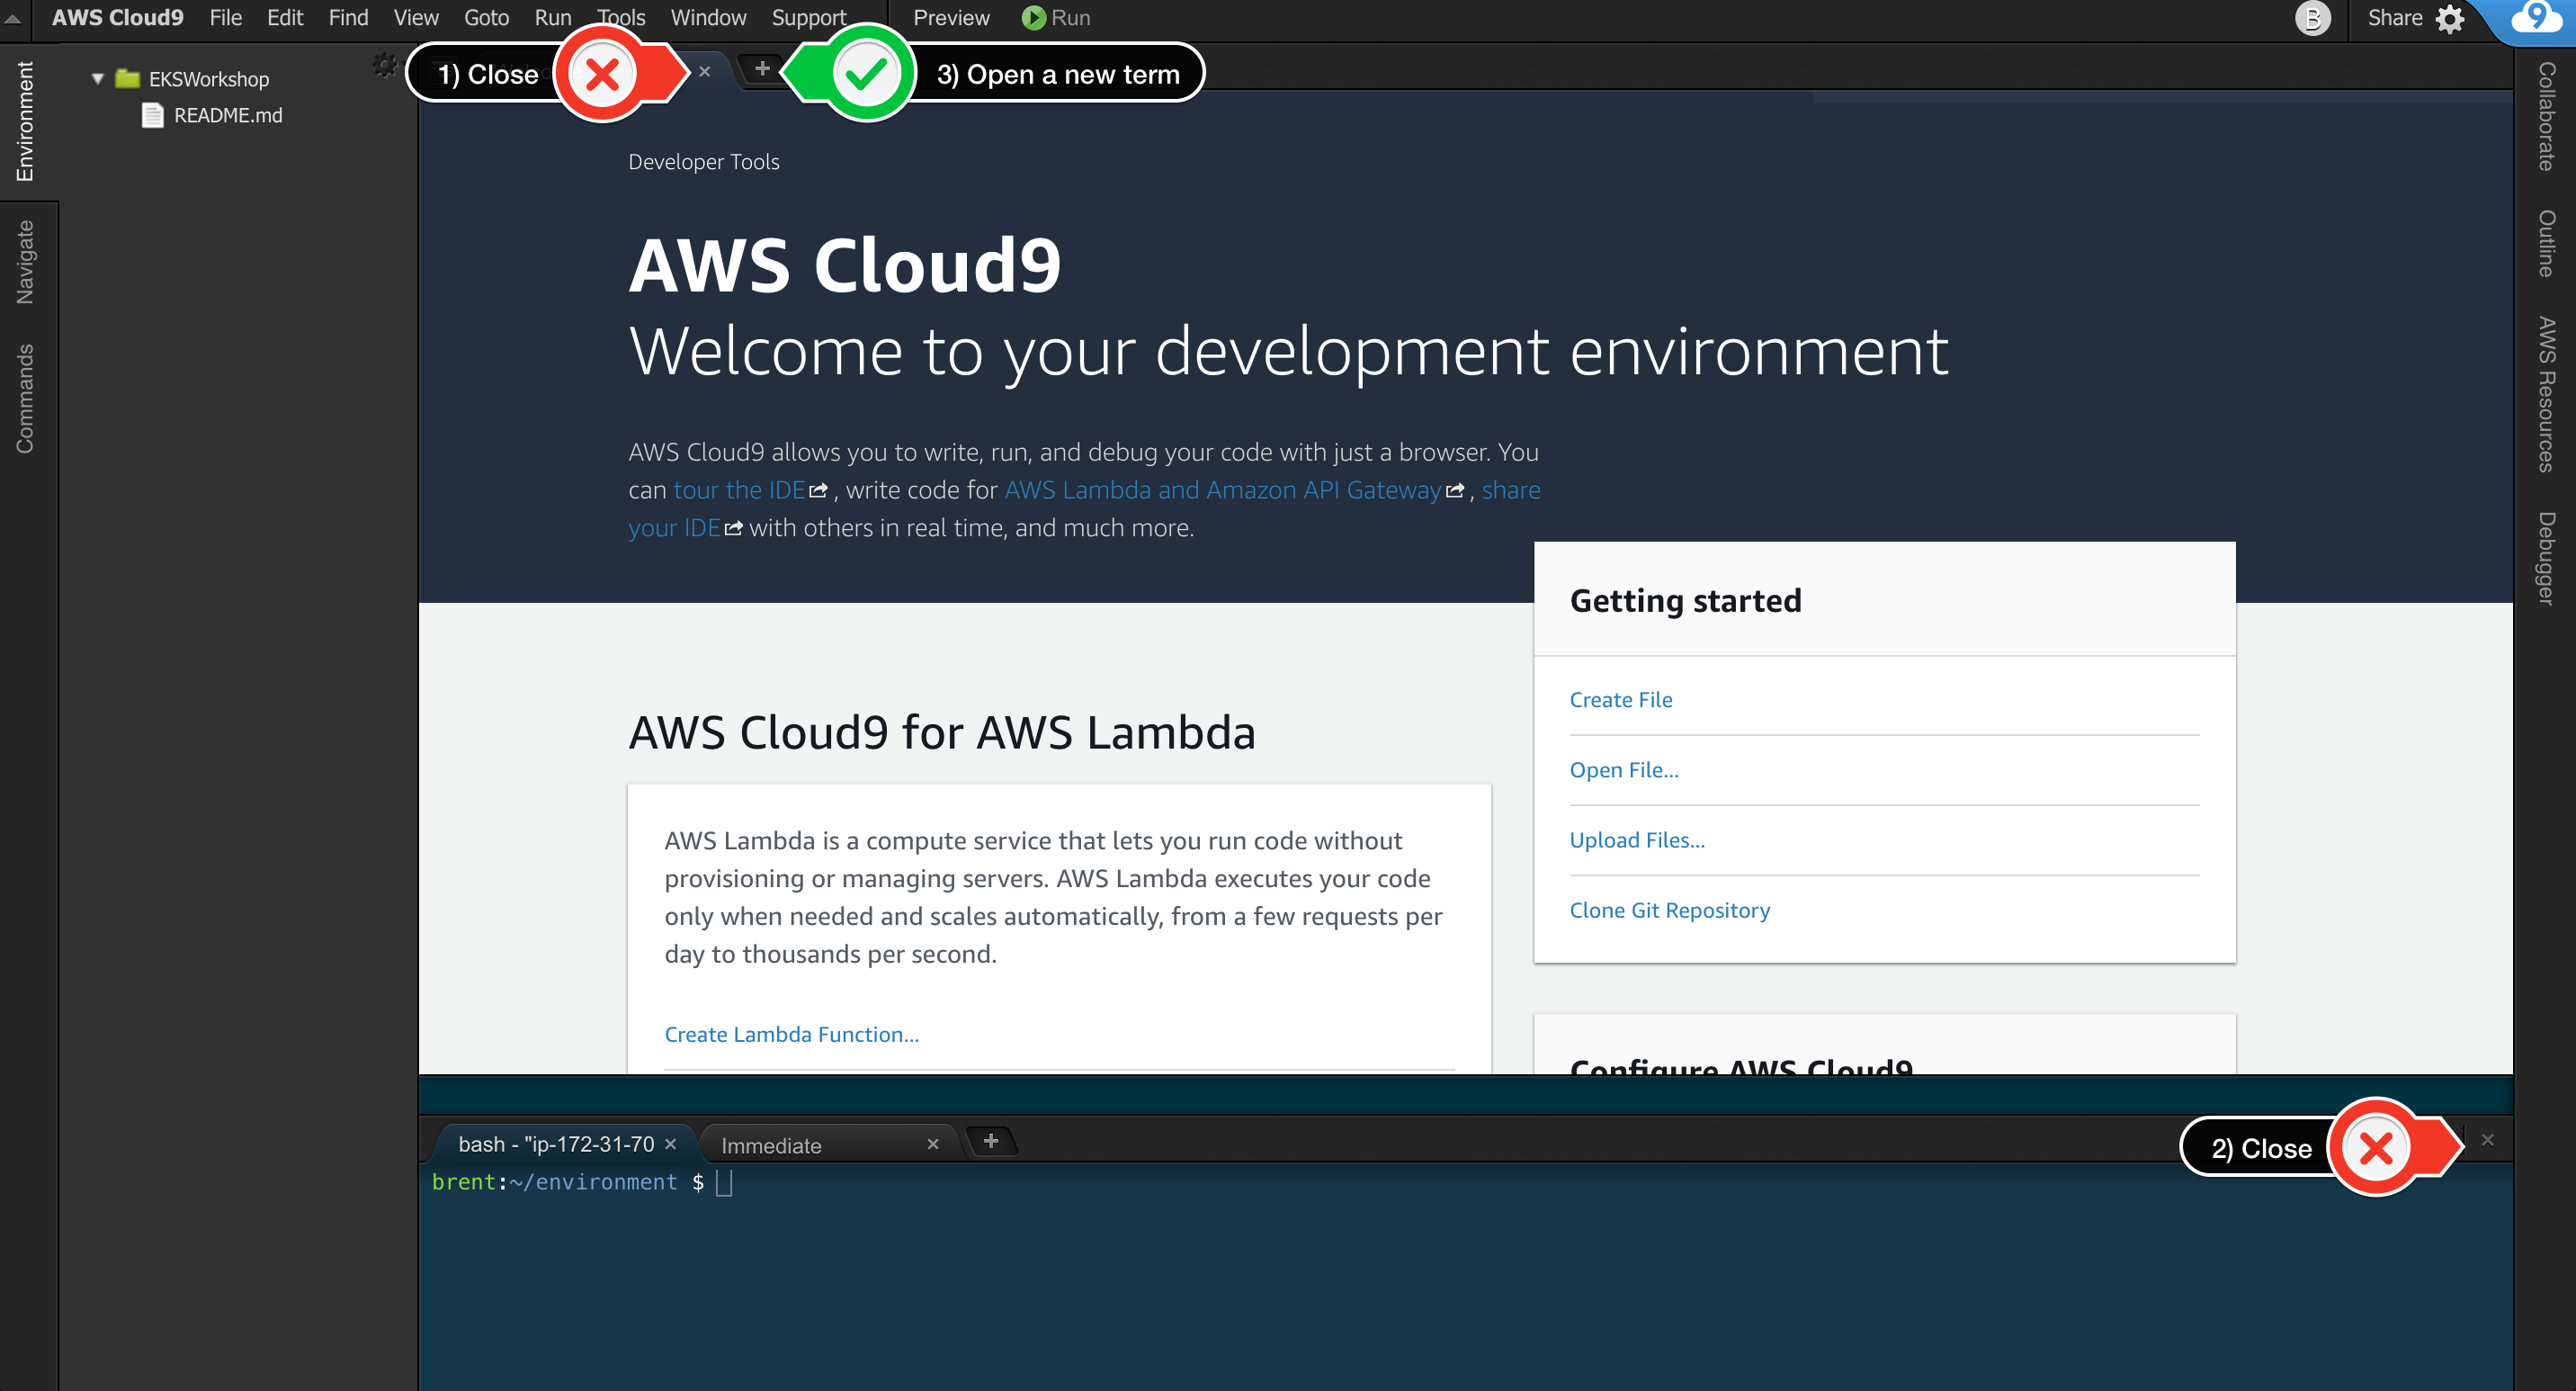
When it comes up, customize the environment by closing the welcome tab and lower work area, and opening a new terminal tab in the main work area:
-
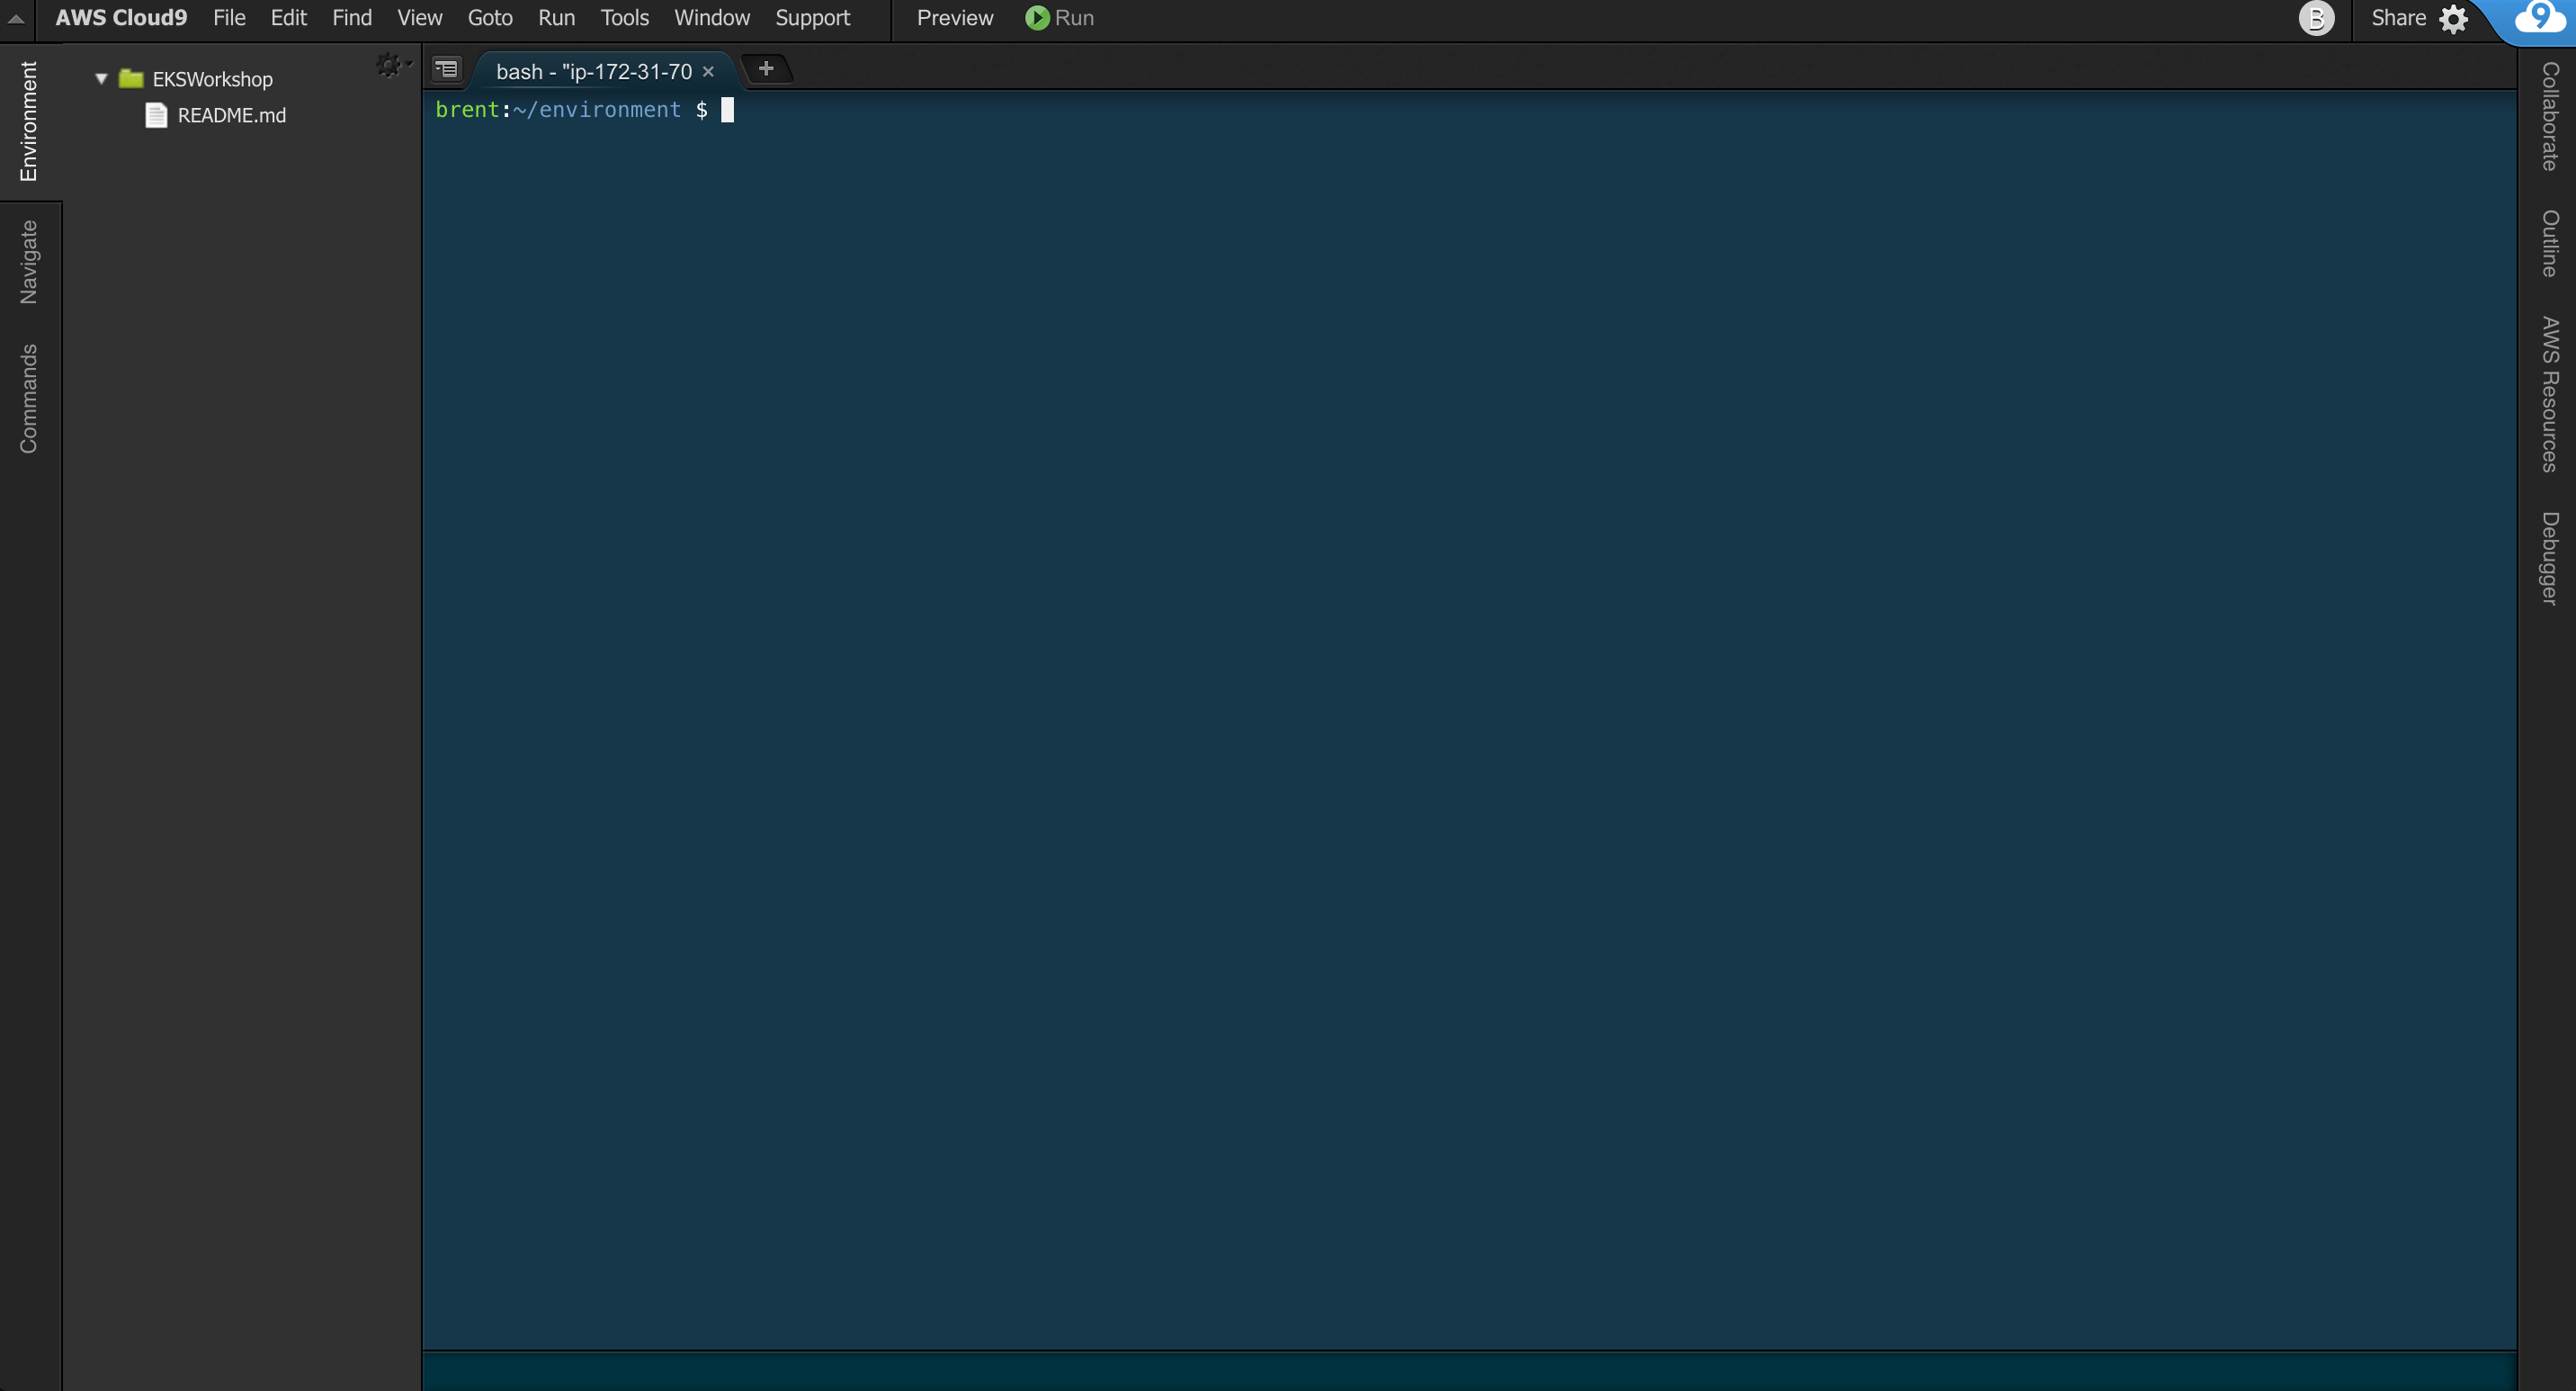
Your workspace should now look like this:
-
If you like this theme, you can choose it yourself by selecting View / Themes / Solarized / Solarized Dark in the Cloud9 workspace menu.
{{% notice info %}} Please note: this EKS and Karpenter workshop version is now deprecated since the launch of Karpenter v1beta, and has been updated to a new home on AWS Workshop Studio here: Karpenter: Amazon EKS Best Practice and Cloud Cost Optimization.
This workshop remains here for reference to those who have used this workshop before, or those who want to reference this workshop for running Karpenter on version v1alpha5. {{% /notice %}}
Note: Cloud9 normally manages IAM credentials dynamically. This isn’t currently compatible with the EKS IAM authentication, so we will disable it and rely on the IAM role instead. To do so, run the following commands in the Cloud9 workspace:
aws cloud9 update-environment --environment-id ${C9_PID} --managed-credentials-action DISABLE
rm -vf ${HOME}/.aws/credentials
Validate the IAM role
Use the GetCallerIdentity CLI command to validate that the Cloud9 IDE is using the correct IAM role.
aws sts get-caller-identity
{{% notice info %}} Please note: this EKS and Karpenter workshop version is now deprecated since the launch of Karpenter v1beta, and has been updated to a new home on AWS Workshop Studio here: Karpenter: Amazon EKS Best Practice and Cloud Cost Optimization.
This workshop remains here for reference to those who have used this workshop before, or those who want to reference this workshop for running Karpenter on version v1alpha5. {{% /notice %}}
The output assumed-role name should contain:
WSParticipantRole
VALID
If the Arn contains the role name from above and an Instance ID, you may proceed.
{
    "Account": "123456789012",
    "UserId": "AROA1SAMPLEAWSIAMROLE:Participant",
    "Arn": "arn:aws:sts::123456789012:assumed-role/WSParticipantRole/Participant"
}
You are now ready to Test the Cluster