...on your own
 Please note: That this workshop has been deprecated. For the latest and updated version featuring the newest features, please access the Workshop at the following link: Cost efficient Spark applications on Amazon EMR.
This workshop remains here for reference to those who have used this workshop before, or those who want to reference this workshop for earlier version.
Please note: That this workshop has been deprecated. For the latest and updated version featuring the newest features, please access the Workshop at the following link: Cost efficient Spark applications on Amazon EMR.
This workshop remains here for reference to those who have used this workshop before, or those who want to reference this workshop for earlier version.
Running the workshop on your own
Only complete this section if you are running the workshop on your own. If you are at an AWS hosted event such as re:Invent, Kubecon, Immersion Day, etc, then go to Start the workshop at an AWS event.
To run this workshop you need an AWS account with Administrator or similar privileged access. If you don’t already have an AWS account with Administrator access, then you can create a new AWS account by following steps provided in this getting started guide.
Deploying AWS CloudFormation template
The workshop requires an AWS Cloud9 workspace and a S3 buckets as the prerequisites. To save time you install these prerequisites using a cloudformation template.
- Download locally this cloudformation stack into a file (emr-spark-spot-workshop-quickstarter-cnf.yml).
- Go to the CloudFormation console and select With new resources(standard) option in Create stack drop down.
- In the Create stack stack form in Prerequisite - Prepare template section select Template is ready.
- In Specify template section select Upload a template file and click on Choose file button to upload the CloudFormation template you downloaded in step 1.
- Enter Stack Name
emrspot-workshopin the Stack Name and leave all the settings in the parameters section with the default parameters and click Next - In the Configure Stack options just scroll to the bottom of the page and click Next
- Finally in the Review emrspot-workshop go to the bottom of the page and tick the **Capabilities section I acknowledge that AWS CloudFormation might create IAM resources. then click Create stack
The deployment of this stack may take up to 10 minutes. You should wait until all the resources in the cloudformation stack have been completed before you start the rest of the workshop.
Checking the completion of the stack deployment
One way to check your stack has been fully deployed is to check that all the cloudformation dependencies are green and succeeded in the cloudformation dashboard; This should look similar to the state below.

Getting access to Cloud9
In this workshop, you’ll need to reference the resources created by the CloudFormation stack.
-
On the AWS CloudFormation console, select the stack name that starts with mod- in the list.
-
In the stack details pane, click the Outputs tab.
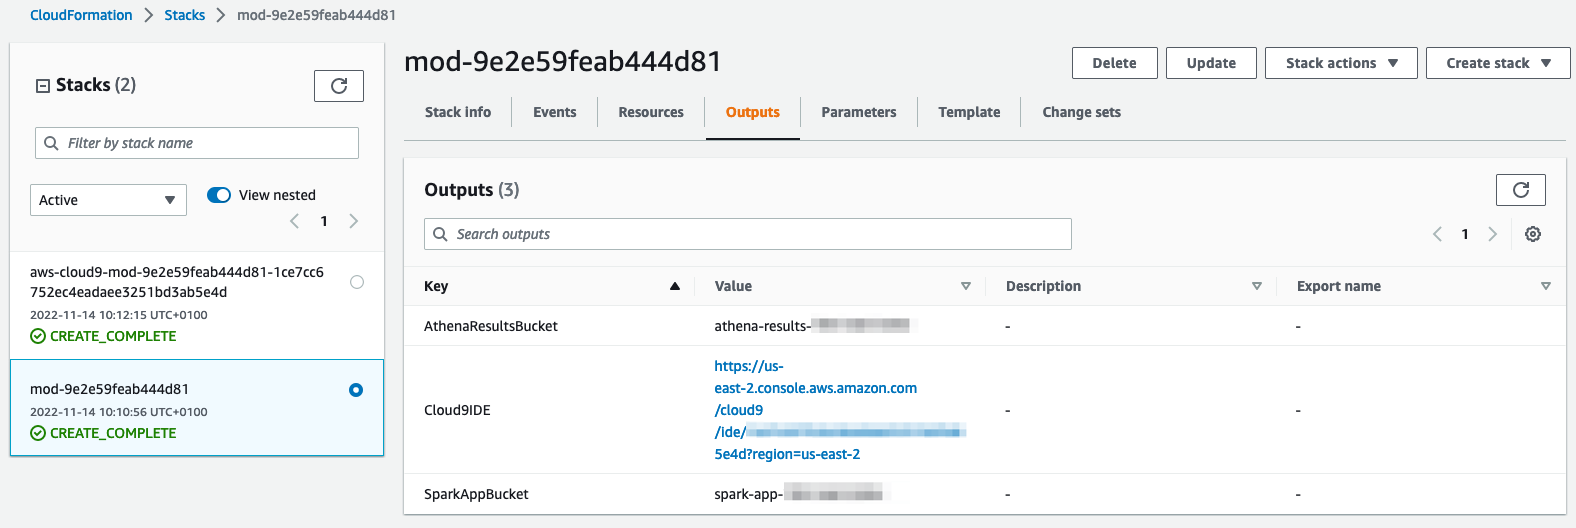
It is recommended that you keep this tab / window open so you can easily refer to the outputs and resources throughout the workshop.
You will notice an additional Cloudformation stack was also deployed to deploy the Cloud9 Workspace, which is the result of the stack that starts with mod-.
Launch your Cloud9 workspace
Ad blockers, javascript disablers, and tracking blockers should be disabled for the cloud9 domain, or connecting to the workspace might be impacted. Cloud9 requires third-party-cookies. You can whitelist the specific domains.
-
Click on the url against
Cloud9IDEfrom the outputs -
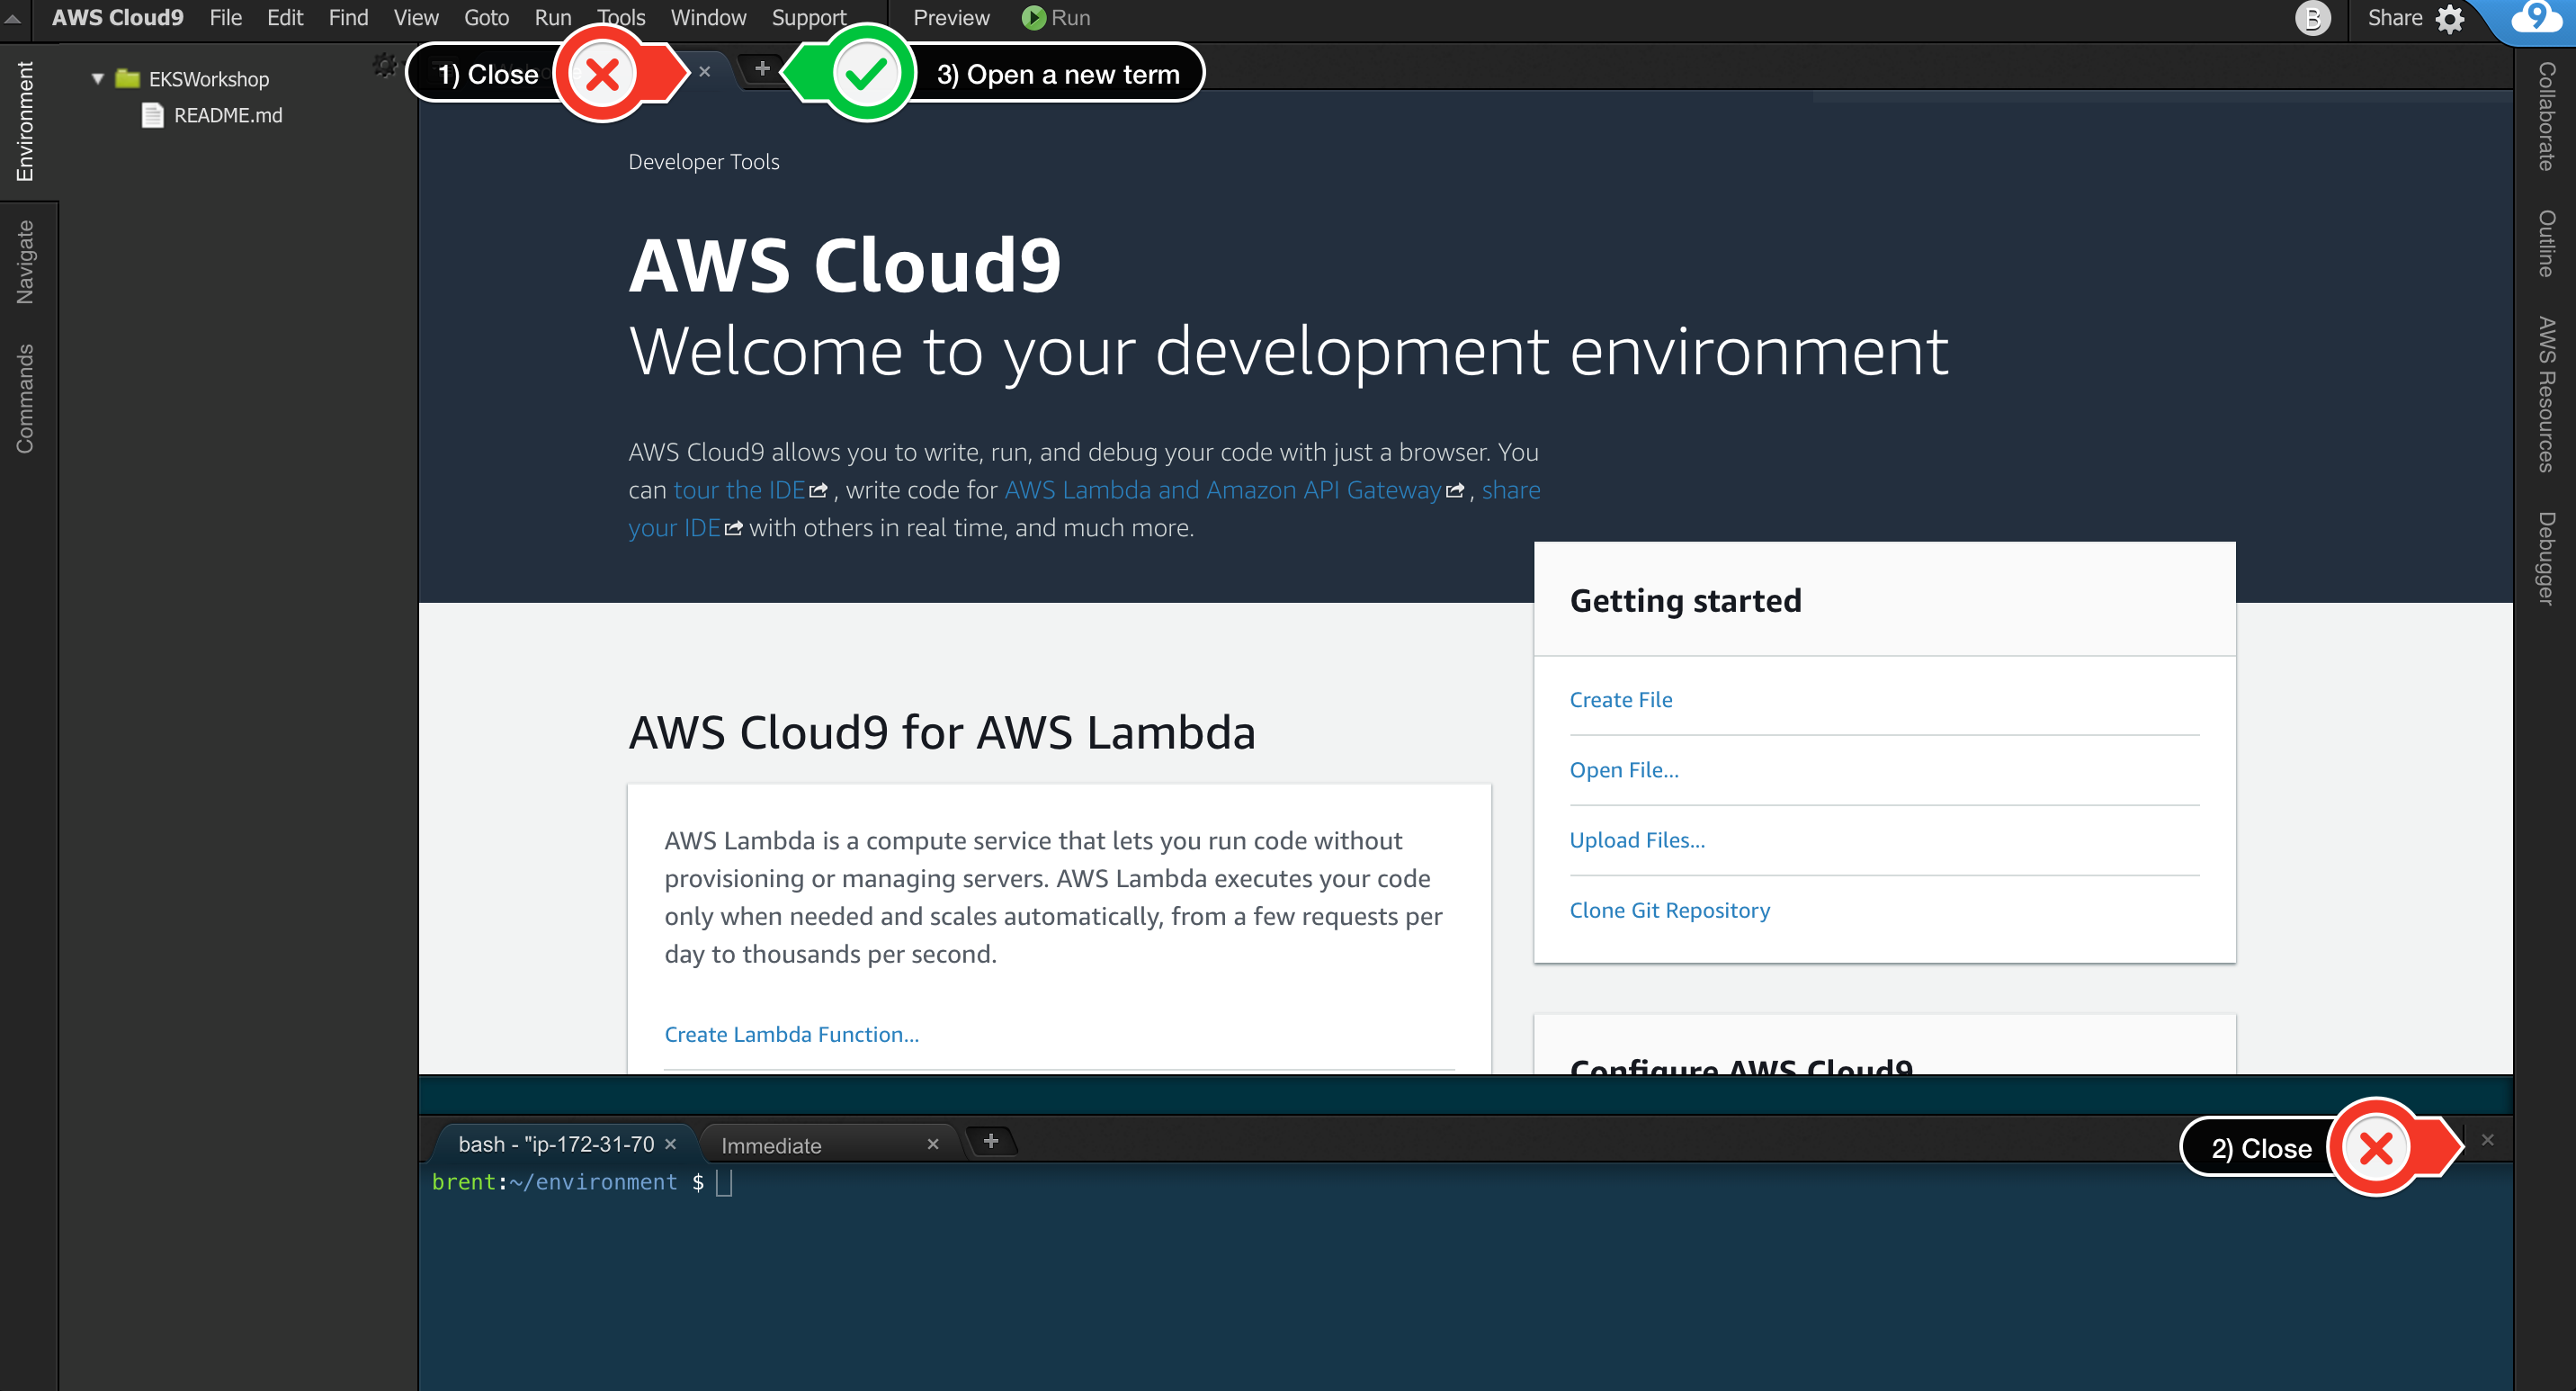
When it comes up, customize the environment by closing the welcome tab and lower work area, and opening a new terminal tab in the main work area:
-
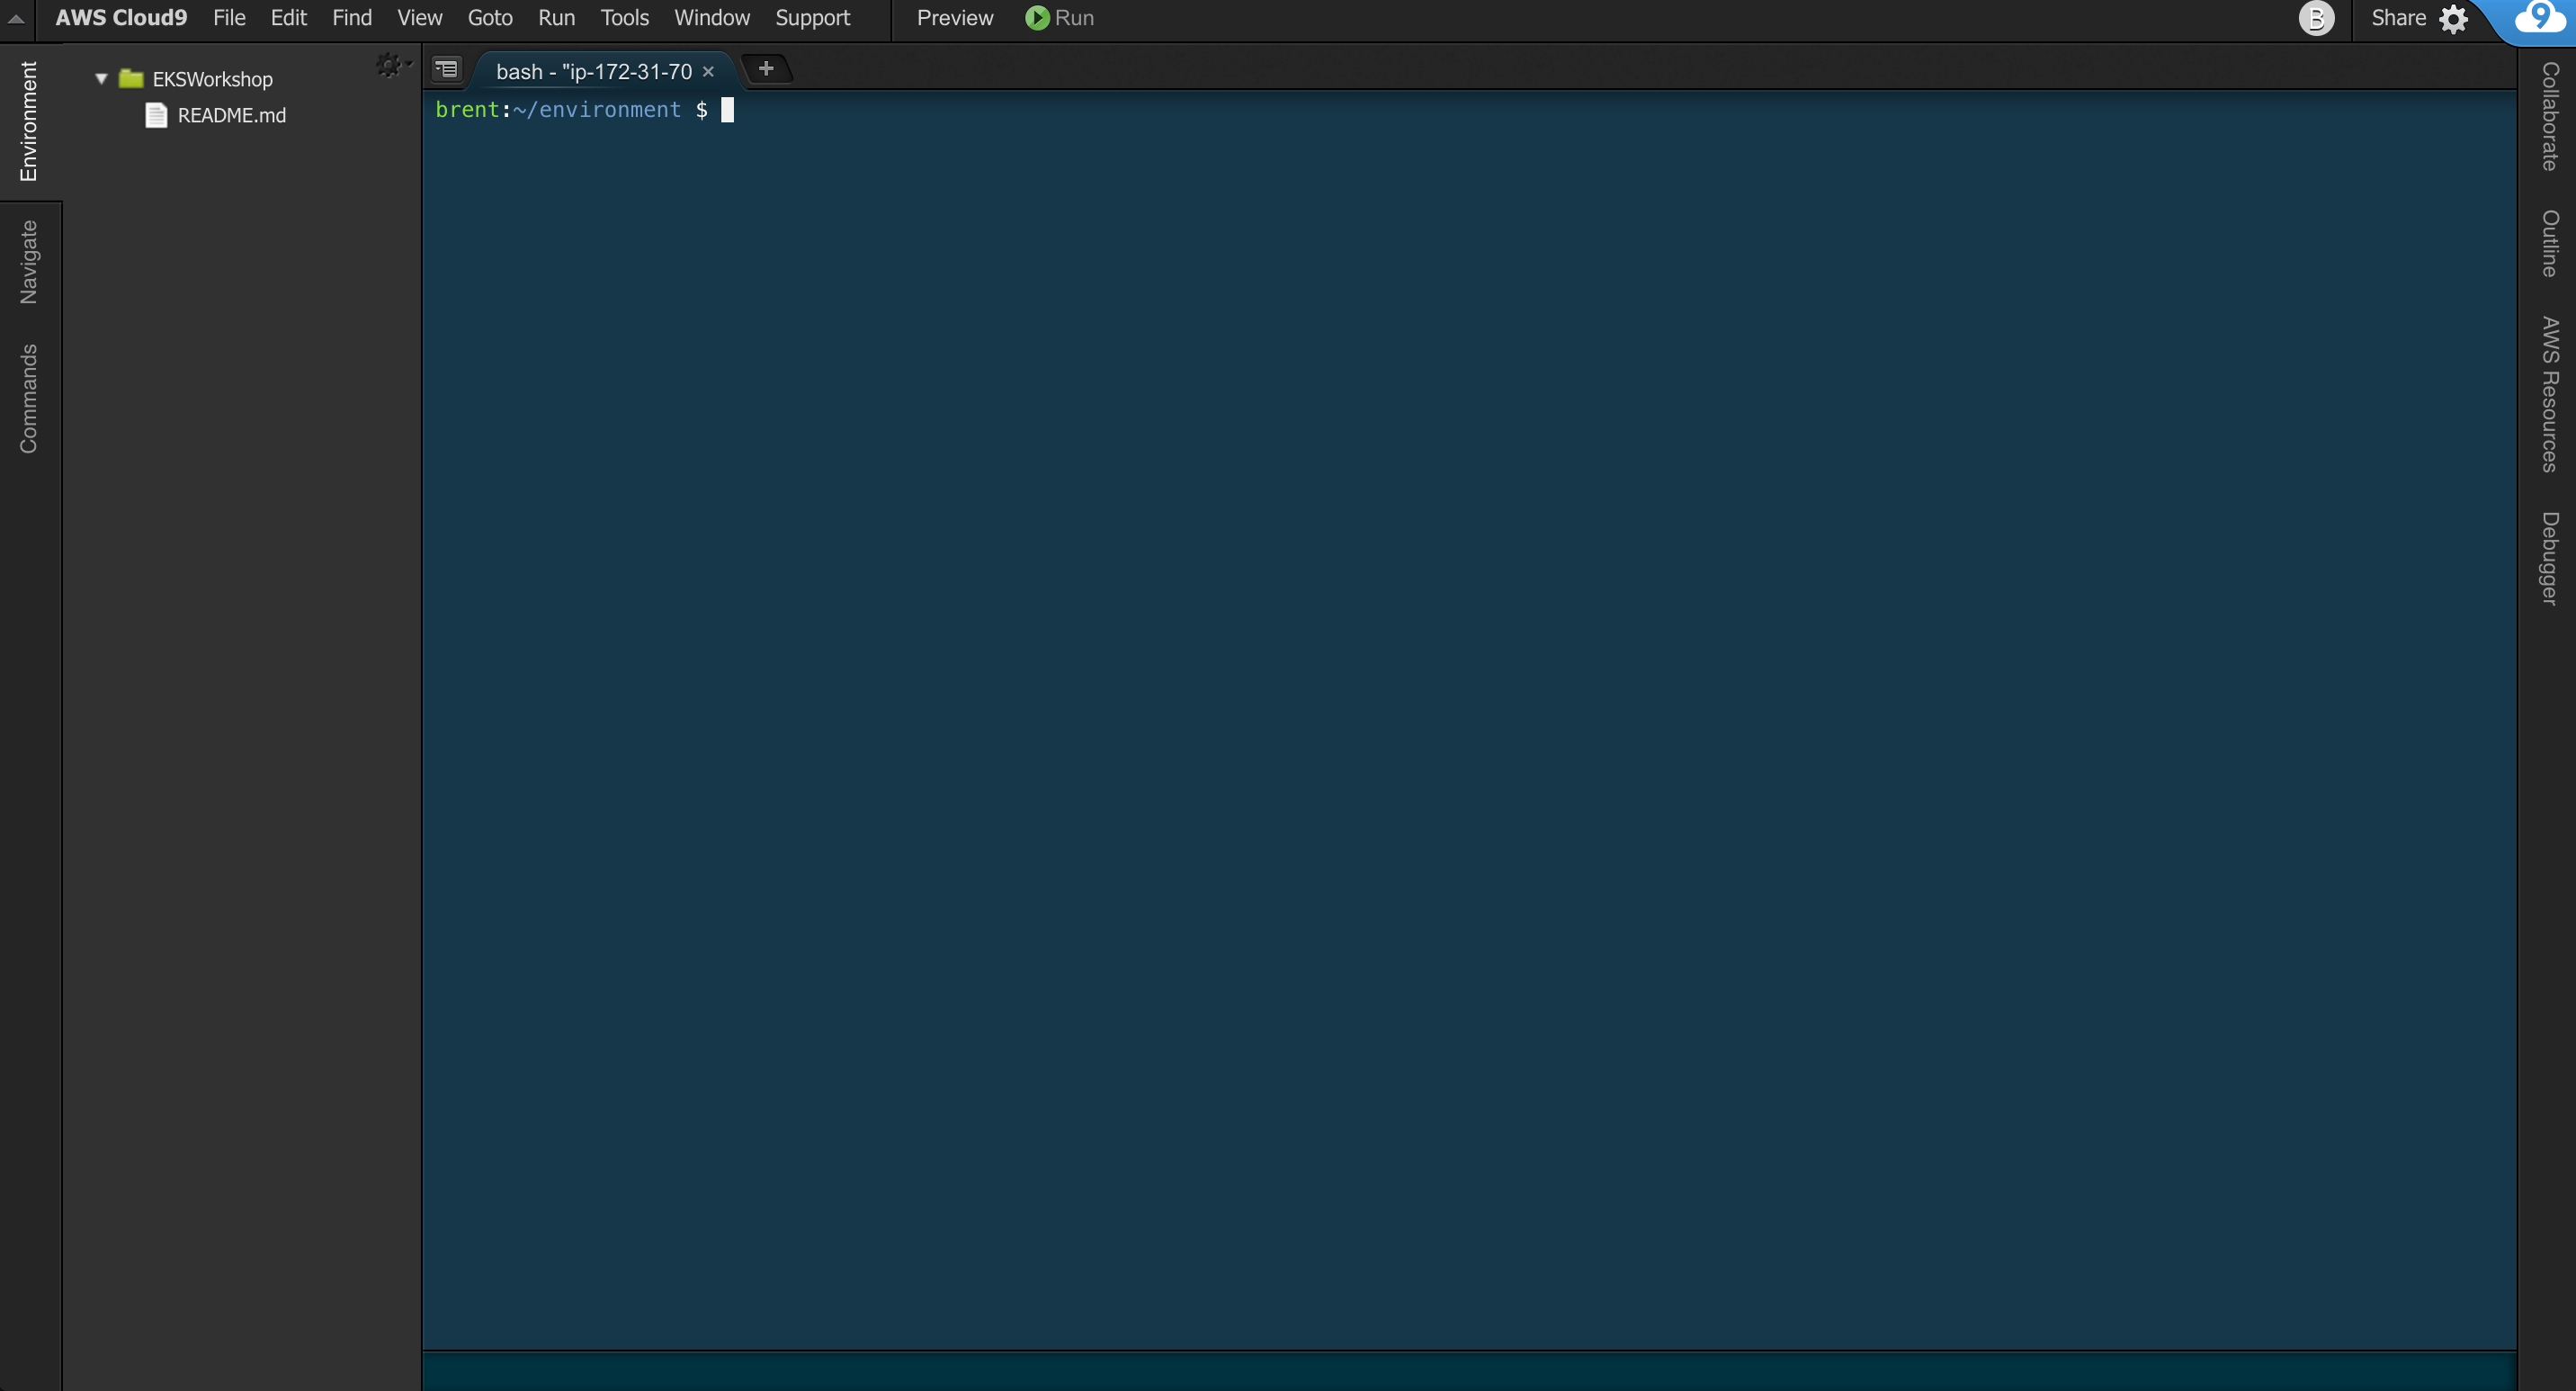
Your workspace should now look like this:
-
If you like this theme, you can choose it yourself by selecting View / Themes / Solarized / Solarized Dark in the Cloud9 workspace menu.
You are now ready to EMR Instance Fleets