...At an AWS event
Only complete this section if you are at an AWS hosted event (such as re:Invent, public workshop, Immersion Day, or any other event hosted by an AWS employee). If you are running the workshop on your own, go to: Start the workshop on your own
Login to the AWS Workshop Portal
If you are at an AWS event, an AWS account created for you to use throughout the workshop. You will need the Participant Hash provided to you by the event’s organizers.
- Connect to the portal by browsing to https://dashboard.eventengine.run/.
- Enter the Hash in the text box, and click Accept Terms & Login .
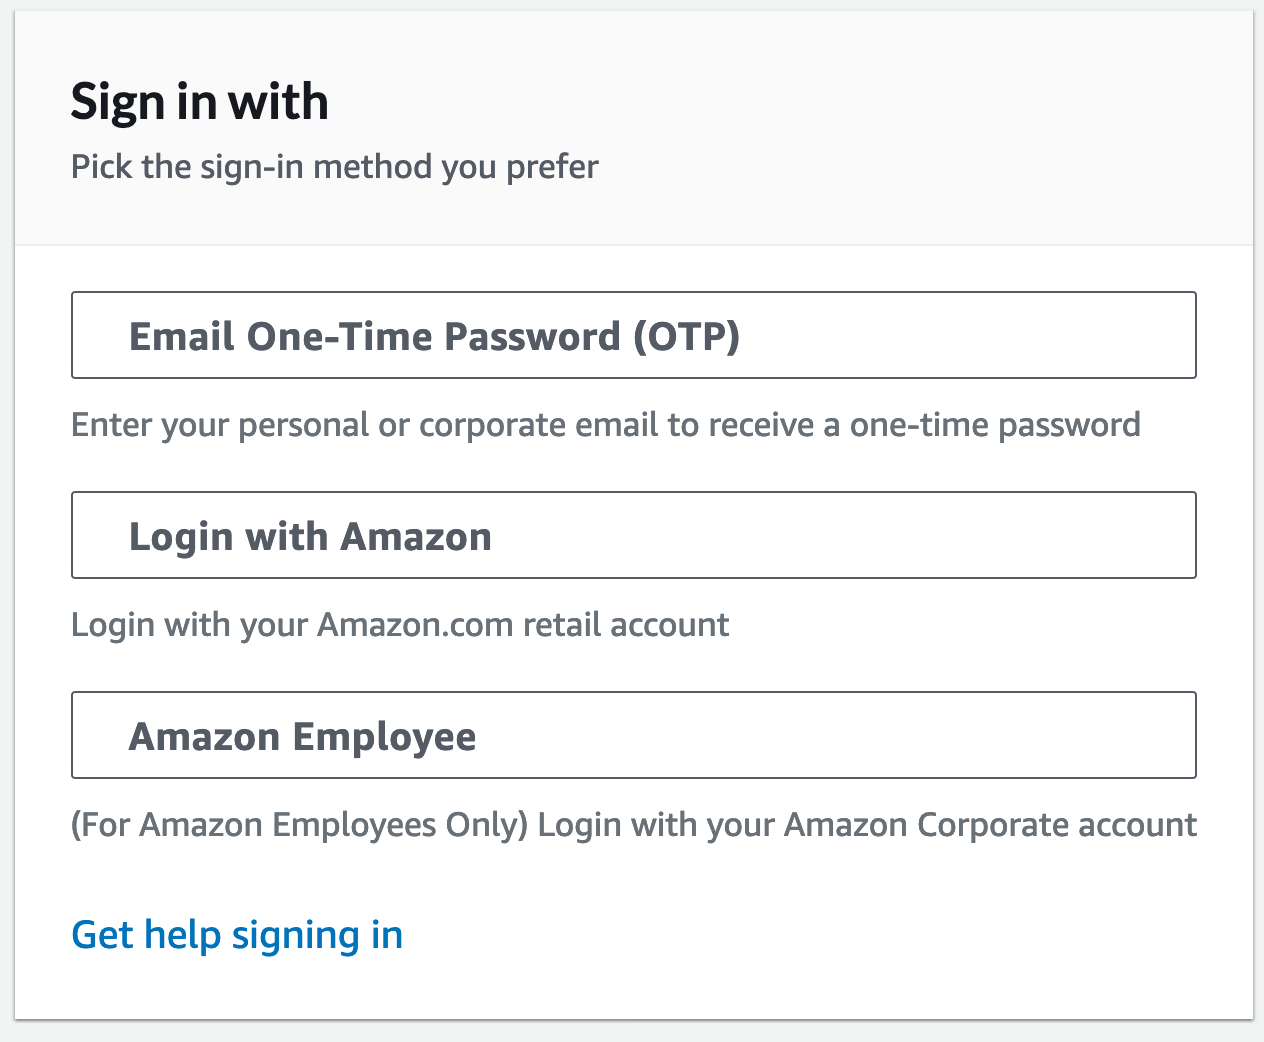
- Select one of the options to sign-in, for example Email One-Time Password (OTP) which would request you to type your e-mail address and enter a passcode that you receive.
Get the SSH key and log in to AWS Console
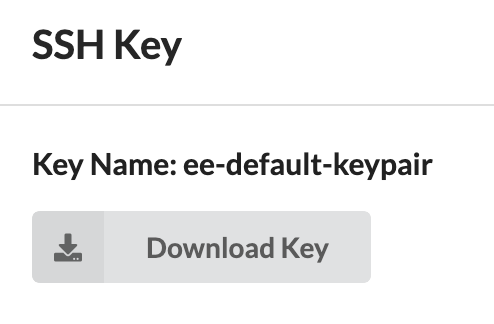
- In the Team Dashboard screen, choose SSH Key.
- In the popup page, choose Download Key. You don’t need the key to complete the labs, but might want to still have it if you decide to explore the environment.
- Close the popup and back in the Team Dashboard screen, choose AWS Console.
- In the popup page, choose Open AWS Console.
- Select the AWS region specified by your facilitator.
You are now logged in to the AWS console in an account that was created for you, and will be available only throughout the workshop run time.
Open the pre-provisioned CloudFormation stack
In the next section we will get the login details of the GitLab environment that was pre-provisioned for you via AWS CloudFormation. First, you need to find and open the CloudFormation stack: it is the oldest one in the account.
- In the AWS Console enter CloudFormation in the search box at the top of the screen and open the service:

- In the navigation pane on the left choose Stacks.
- You should see two stacks in the list: the one for AWS Cloud9 environment starting with
aws-cloud9-...and the main one starting withmod-.... You will need the main stack (latter one), click on it.
If there is no CloudFormation stack present, provision it as specified in the section …On your own.
You can now proceed to the Workshop Preparation where you will save the required output values from the stack.