Setting up Jenkins server
Install Jenkins
Let’s download the jenkins repository so we have something to start with:
helm repo add jenkins https://charts.jenkins.io
You can then run helm search repo to see the charts.
helm search repo jenkins
Let’s create the values.yaml to declare the configuration of our Jenkins installation. We will use nodeSelector (intent: control-apps, eks.amazonaws.com/capacityType: ON_DEMAND) to deploy jenkins-controller on On-Demand nodes and nodeSelector (intent: jenkins-agents, eks.amazonaws.com/capacityType: SPOT) to deploy Spot nodes.
cat << EOF > values.yaml
---
controller:
  componentName: "jenkins-controller"
  image: "jenkins/jenkins"
  tag: "2.303.2-lts-jdk11"
  resources:
    requests:
      cpu: "1024m"
      memory: "4Gi"
    limits:
      cpu: "4096m"
      memory: "8Gi"

  servicePort: 80
  serviceType: LoadBalancer

  nodeSelector:
    intent: control-apps
    eks.amazonaws.com/capacityType: ON_DEMAND

serviceAccountAgent:
  create: false

agent:
  enabled: true
  image: "jenkins/inbound-agent"
  tag: "4.11-1"
  workingDir: "/home/jenkins/agent"
  componentName: "jenkins-agent"
  resources:
    requests:
      cpu: "512m"
      memory: "512Mi"
    limits:
      cpu: "1024m"
      memory: "1Gi"

  nodeSelector:
    intent: jenkins-agents
    eks.amazonaws.com/capacityType: SPOT
  connectTimeout: 300
  # Pod name
  podName: "jenkins-agent"
EOF
Now we’ll use the helm cli to create the Jenkins server as we’ve declared it in the values.yaml file.
helm install cicd jenkins/jenkins -f values.yaml
The output of this command will give you some additional information such as the
admin password and the way to get the host name of the ELB that was
provisioned.
Let’s give this some time to provision and while we do let’s watch for Jenkins Controller pod to boot.
kubectl get pods -w
You should see a pod that starts with the name cicd-jenkins- in Pending, Init, PodInitializing or Running state.
Once the pod status changes to running, we can get the load balancer address which will allow us to login to the Jenkins dashboard.
export SERVICE_IP=$(kubectl get svc --namespace default cicd-jenkins --template "{{ range (index .status.loadBalancer.ingress 0) }}{{ . }}{{ end }}")
echo "Jenkins running at : http://$SERVICE_IP/login"
The expected result should be similar to:
http://a47cfc8b6f49411e9bb3c0a177920747-1075946478.eu-west-1.elb.amazonaws.com/login
This service was configured with a LoadBalancer, so an AWS Elastic Load Balancer (ELB) is launched by Kubernetes for the service.
It can take up to several minutes for the ELB to be created and DNS updated. During this time the link above may display a “site unreachable” message. To check if the instances are in service, follow this deep link to the load balancer console. On the load balancer select the instances tab and ensure that the instance status is listed as “InService” before proceeding to the next page in the workshop.
Open a new tab and browse to the address of the ELB that you got in the last step.
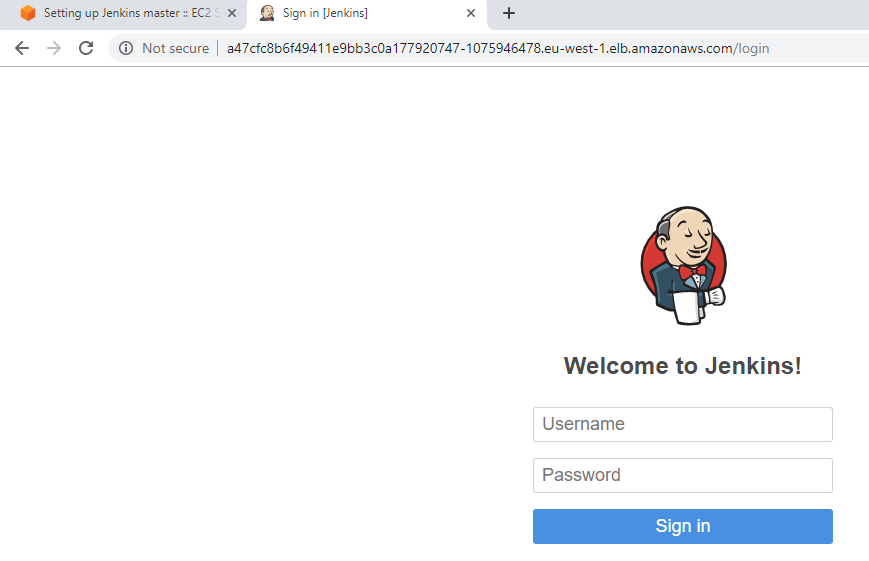
From here we can log in using:
| Username | Password |
|---|---|
| admin | command from below |
printf $(kubectl get secret --namespace default cicd-jenkins -o jsonpath="{.data.jenkins-admin-password}" | base64 --decode);echo
The output of this command will give you the default password for your admin
user. Log into the Jenkins login screen using these credentials. Make note of this password, because you will need to use it several times throughout the workshop.
Now that our Jenkins Controller is working, move to the next step in the workshop to set up Jenkins agents.