Deploy Application
To deploy the application we just need to run:
kubectl apply -f ~/environment/monte-carlo-pi-service.yml
This should prompt:
service/monte-carlo-pi-service created
deployment.apps/monte-carlo-pi-service created
Challenge: Checking the deployment
Before we test our application, we should check our replicas are running on the right nodes.
Your next task is to confirm the replicas of the monte-carlo-pi-service are running in the right nodes. You can use Kubectl cheat sheet as a reference.
Use the get node selector to confirm the nodes.
nodes=$(kubectl get nodes --selector=intent=apps | tail -n +2 |  awk '{print $1}')
for node in $nodes; do echo $node; kubectl describe nodes $node | grep "monte-carlo-pi-service"; done
Testing the application
Once the application has been deployed we can use the following line to find out the external url to access the Monte Carlo Pi approximation service. To get the url of the service:
kubectl get svc monte-carlo-pi-service | tail -n 1 | awk '{ print "monte-carlo-pi-service URL = http://"$4 }'
You may need to refresh the page and clean your browser cache. The creation and setup of the LoadBalancer may take a few minutes; usually in two minutes you should see the response of the monte-carlo-pi-service.
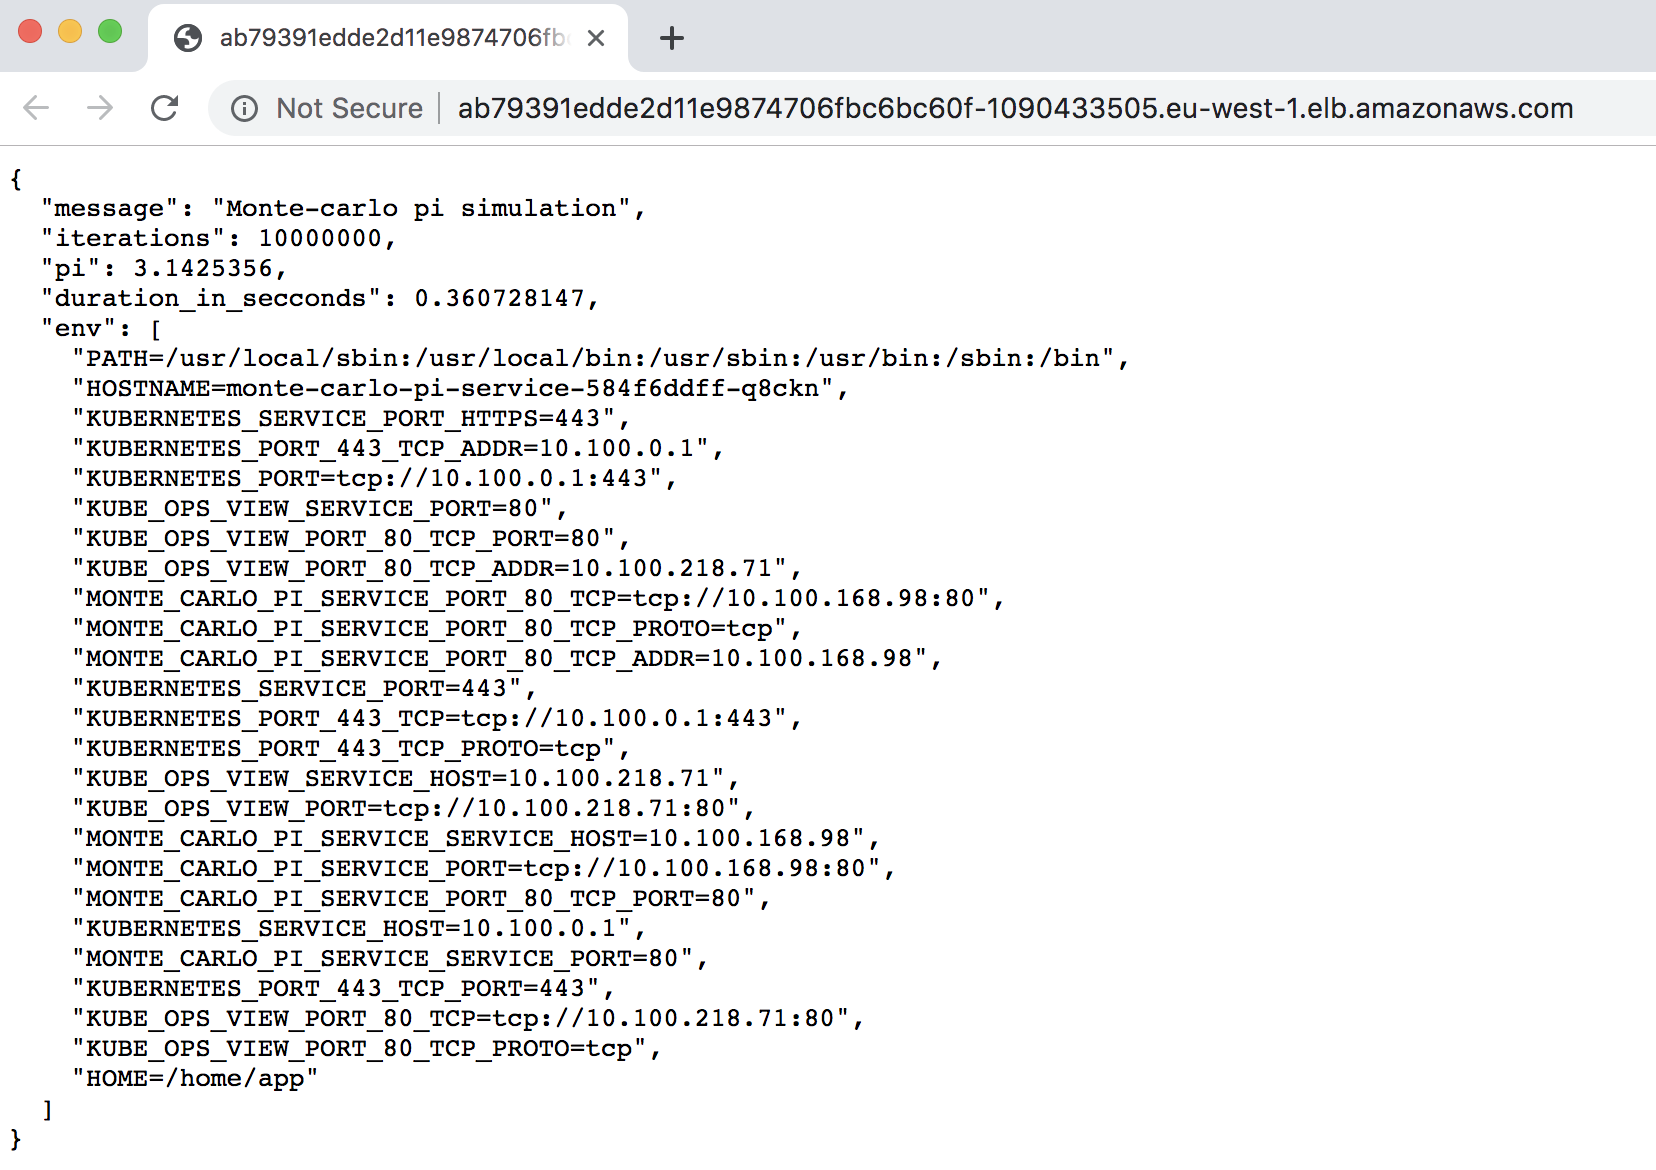
When running that in your browser you should be able to see the json response provided by the service:

The application takes the named argument iterations to define the number of samples used during the monte carlo process, this can be useful to increase the CPU demand on each request.
You can also execute a request with the additional parameter from the console:
URL=$(kubectl get svc monte-carlo-pi-service | tail -n 1 | awk '{ print $4 }')
time curl ${URL}/?iterations=100000000