...on your own
Only complete this section if you are running the workshop on your own. If you are at an AWS hosted event (such as re:Invent, Kubecon, Immersion Day, etc), go to Start the workshop at an AWS event.
Running the workshop on your own
Your account must have the ability to create new IAM roles and scope other IAM permissions.
-
If you don’t already have an AWS account with Administrator access: create one now by clicking here
-
Once you have an AWS account, ensure you are following the remaining workshop steps as an IAM user with administrator access to the AWS account: Create a new IAM user to use for the workshop
-
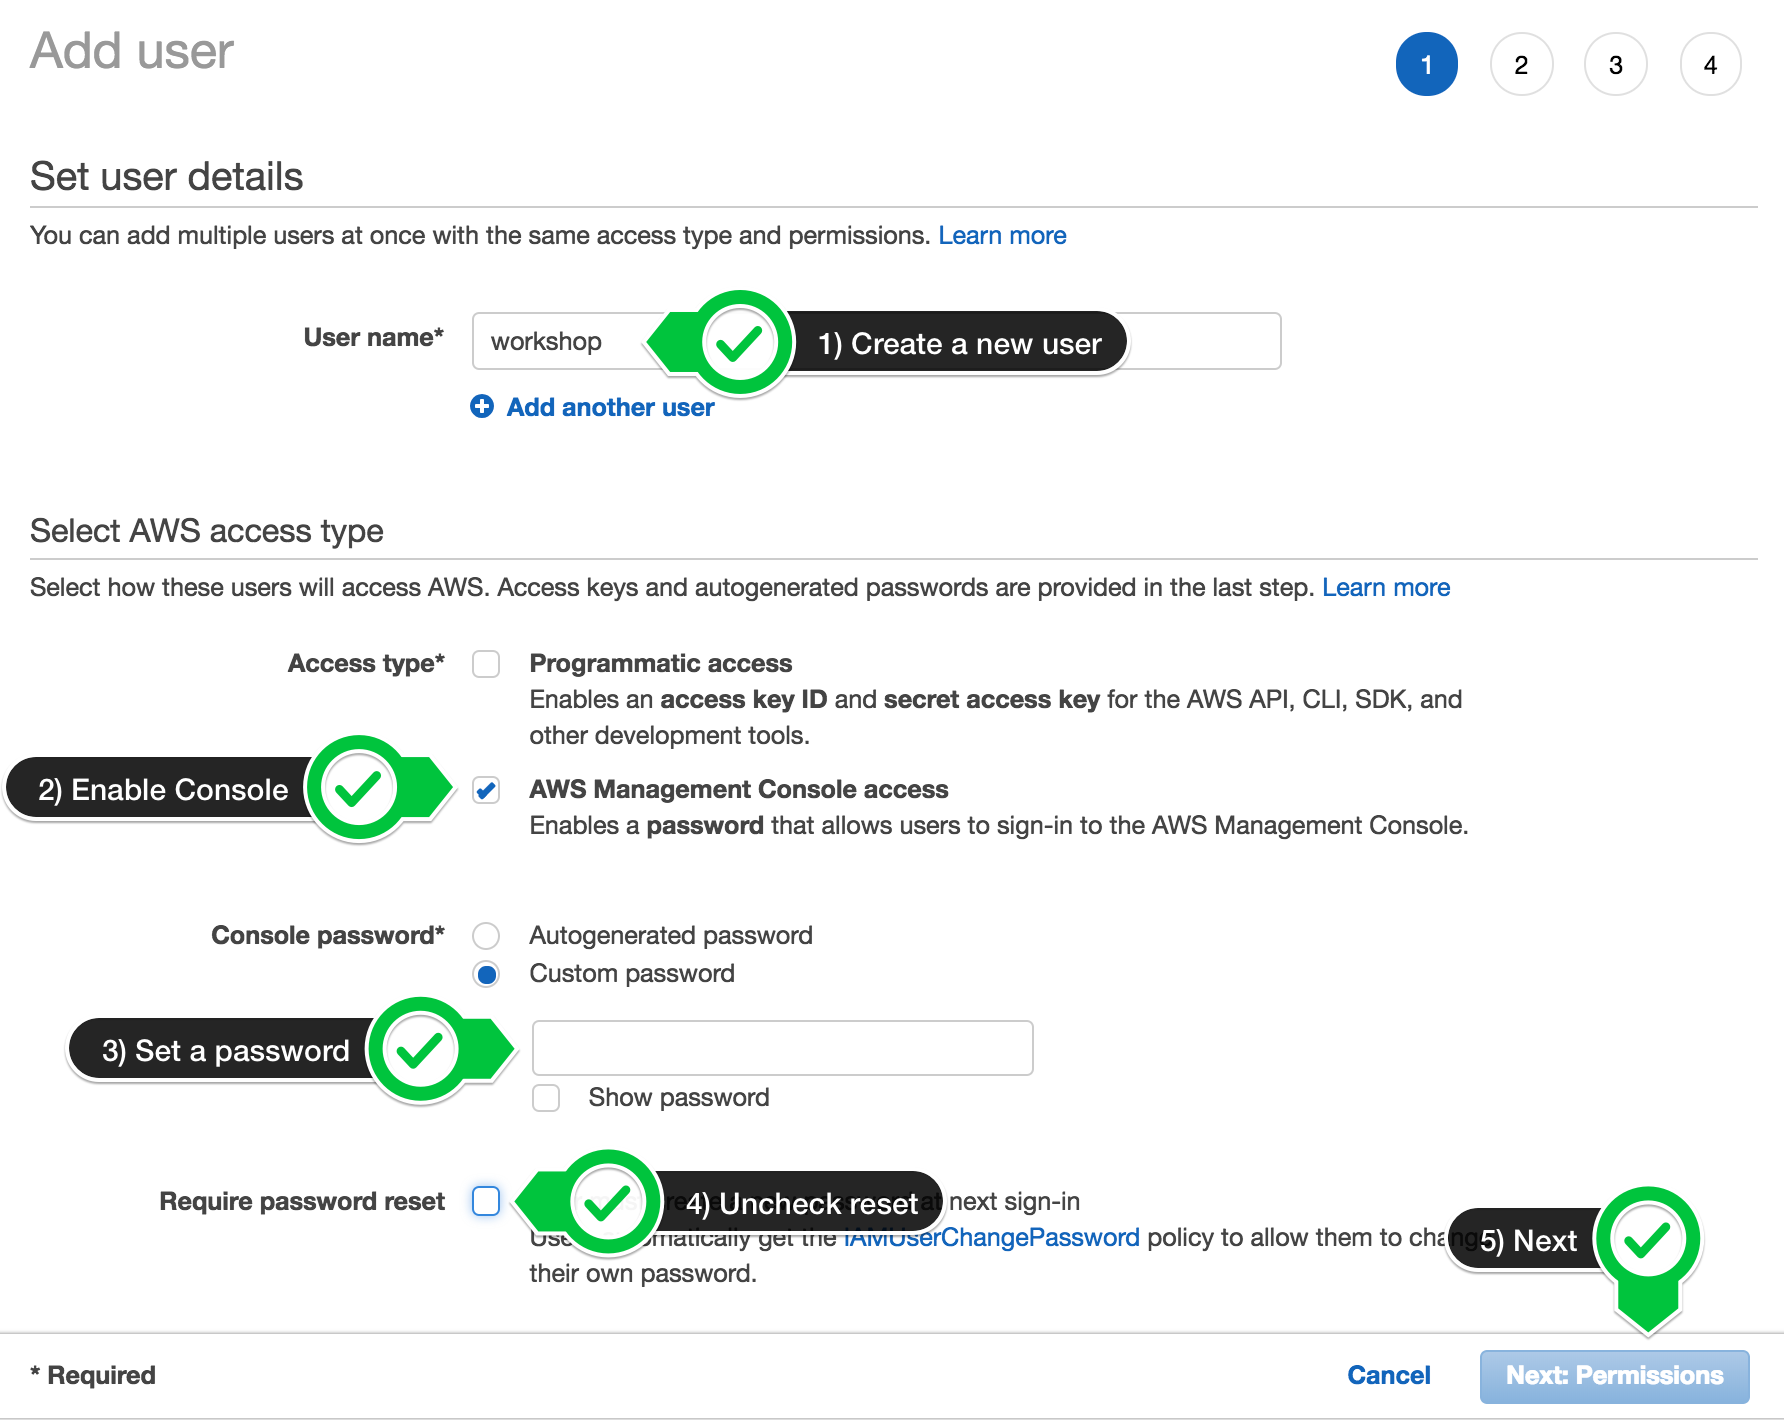
Enter the user details:
-
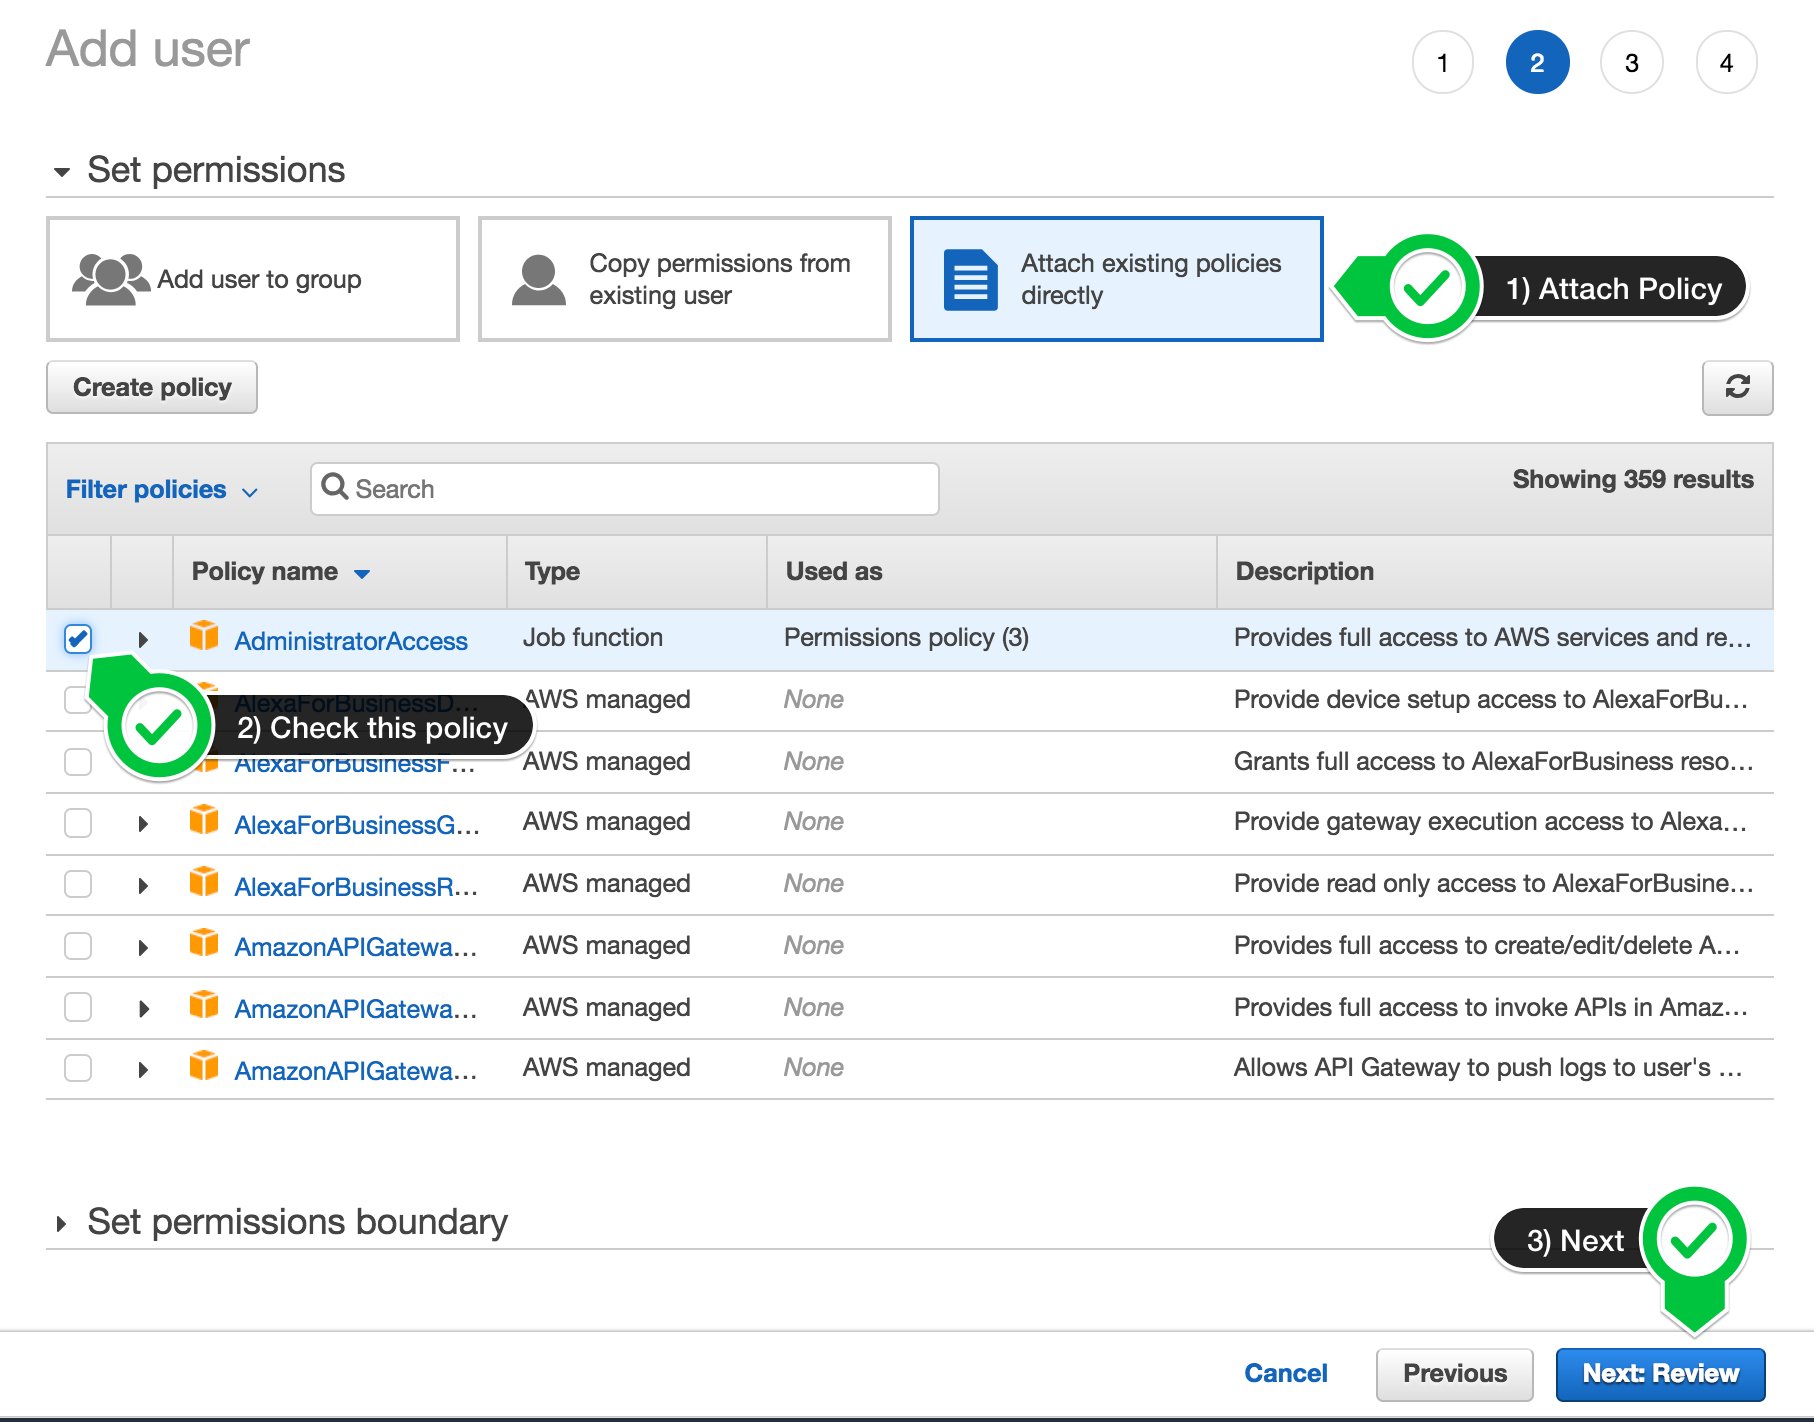
Attach the AdministratorAccess IAM Policy:
-
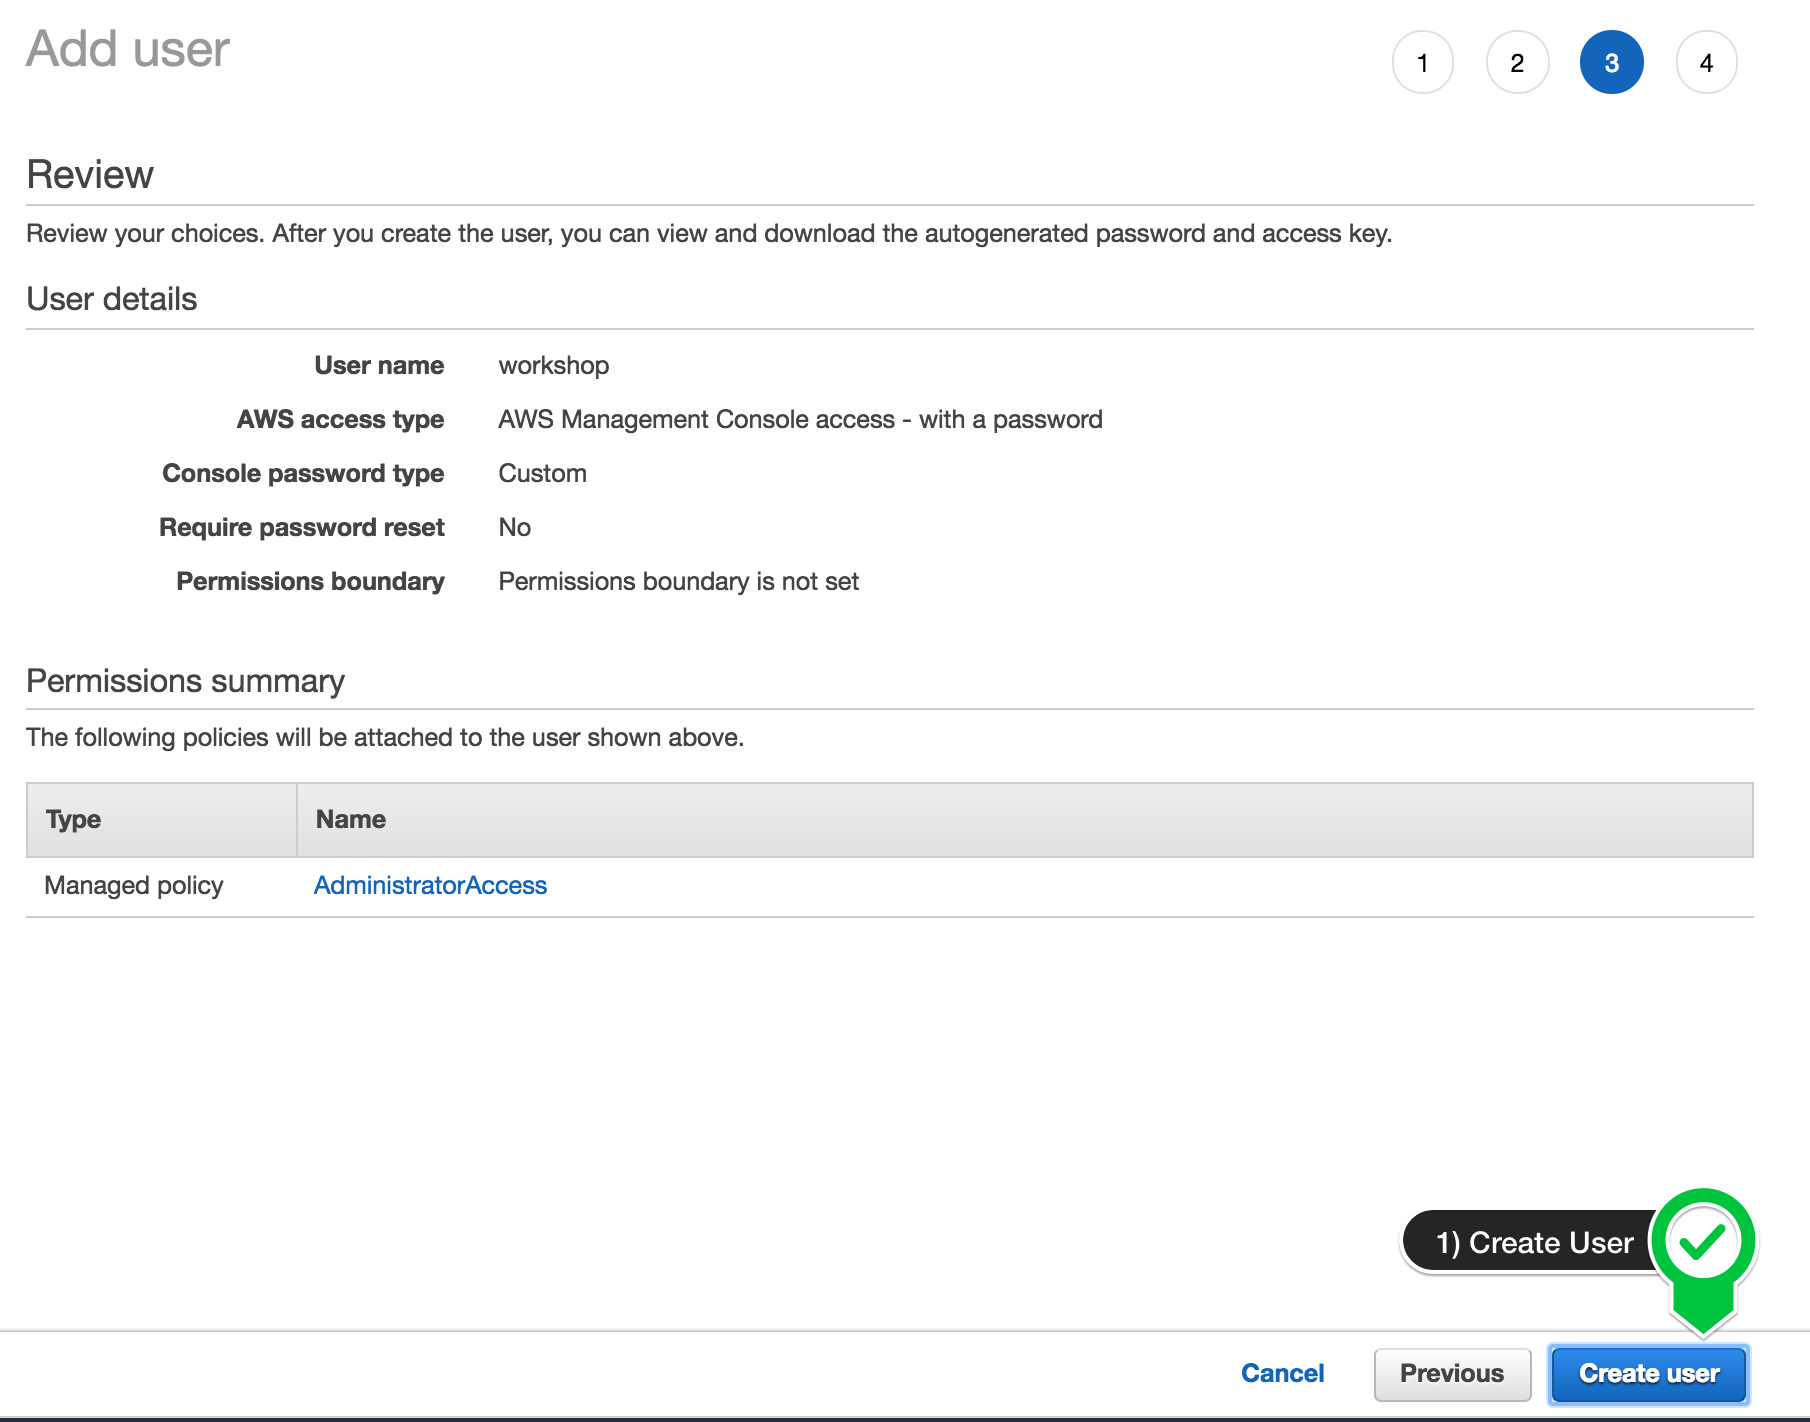
Click to create the new user:
-
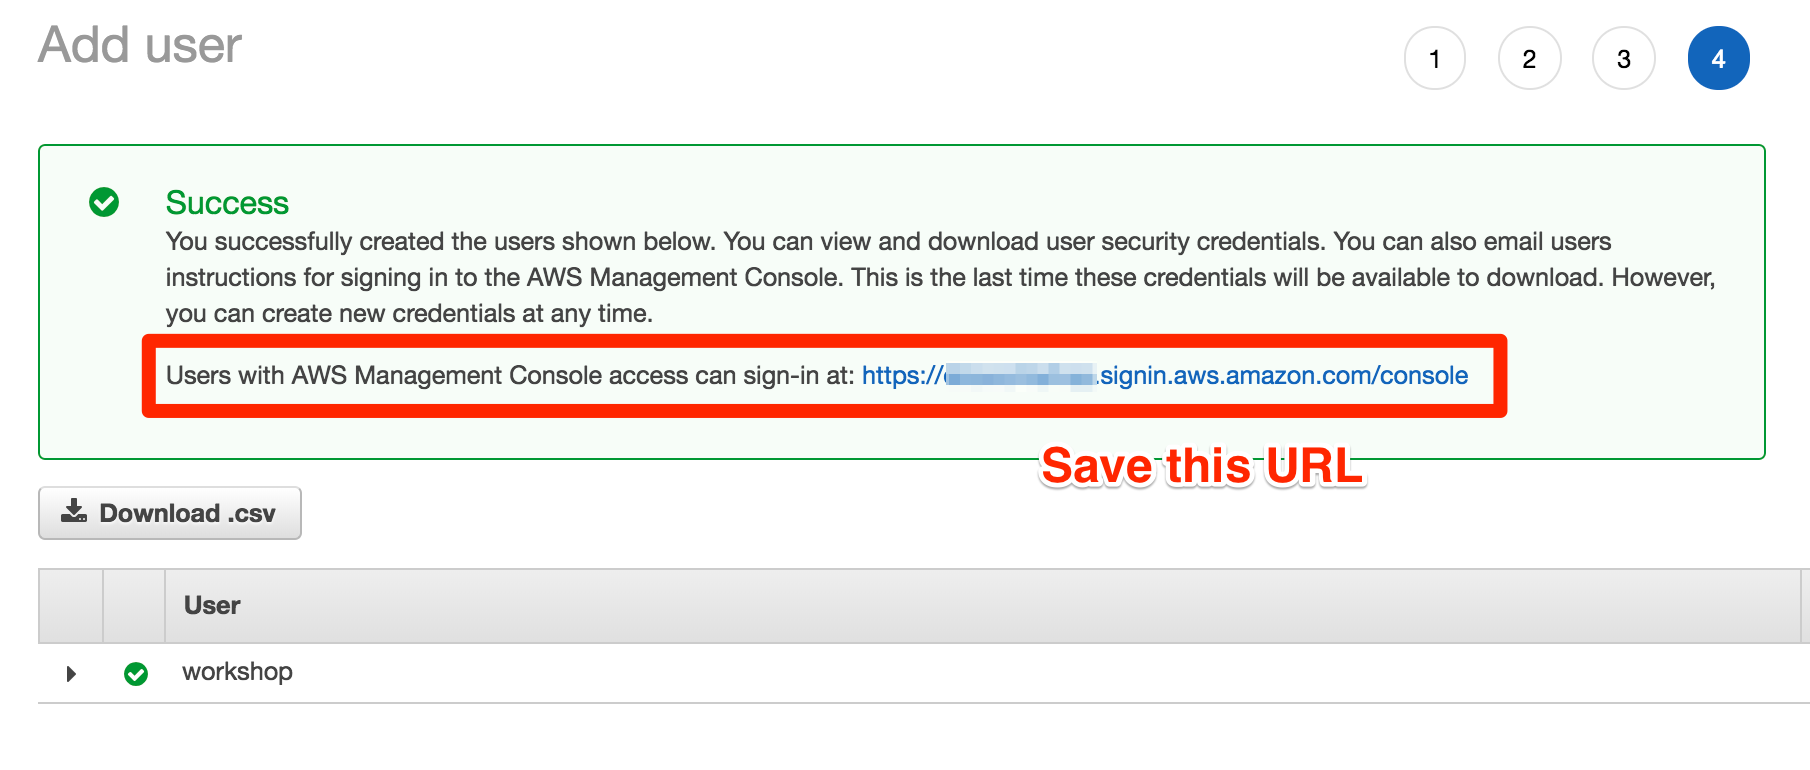
Take note of the login URL and save:
Deploying CloudFormation
In the interest of time and to focus just on the workshop, we will install everything required to run this workshop using CloudFormation.
-
Download locally this cloudformation stack into a file (eks-spot-workshop-quickstart-cnf.yml).
-
Go into the CloudFormation console and select the creation of a new stack. Select Template is ready, and then Upload a template file, then select the file that you downloaded to your computer and click on Next
-
Fill in the Stack Name using ‘eks-spot-workshop’, Leave all the settings in the parameters section with the default prarameters and click Next
-
In the Configure Stack options just scroll to the bottom of the page and click Next
-
Finally in the Review eks-spot-workshop go to the bottom of the page and tick the
Capabilitiessection I acknowledge that AWS CloudFormation might create IAM resources. then click Create stack
The deployment of this stack may take up to 20minutes. You should wait until all the resources in the cloudformation stack have been completed before you start the rest of the workshop. The template deploys resourcess such as (a) An AWS Cloud9 workspace with all the dependencies and IAM privileges to run the workshop (b) An EKS Cluster with the name eksspotworkshop and (c) a EKS managed node group with 3 on-demand instances.
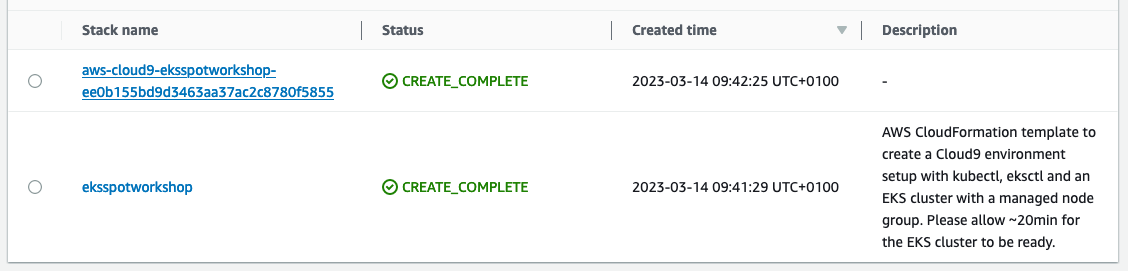
Checking the completion of the stack deployment
One way to check your stack has been fully deployed is to check that all the cloudformation dependencies are green and succedded in the cloudformation dashboard; This should look similar to the state below.
Getting access to Cloud9
In this workshop, you’ll need to reference the resources created by the CloudFormation stack.
-
On the AWS CloudFormation console, select the stack name that starts with eksspotworkshop- in the list.
-
In the stack details pane, click the Outputs tab.
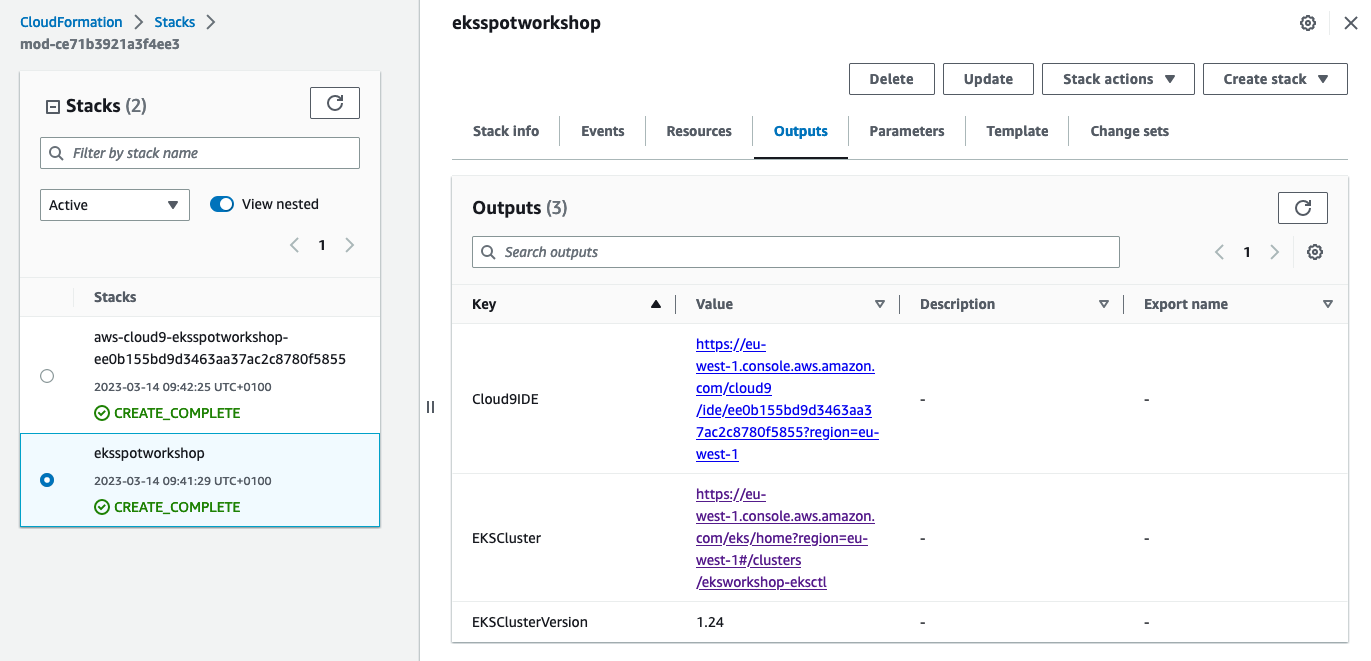
It is recommended that you keep this tab / window open so you can easily refer to the outputs and resources throughout the workshop.
You will notice an additional Cloudformation stack was also deployed which is the result of the stack that starts with eksspotworkshop-, and it’s basically to deploy the Cloud9 Workspace.
Launch your Cloud9 workspace
- Click on the url against
Cloud9IDEfrom the outputs
-
When it comes up, customize the environment by closing the welcome tab and lower work area, and opening a new terminal tab in the main work area:
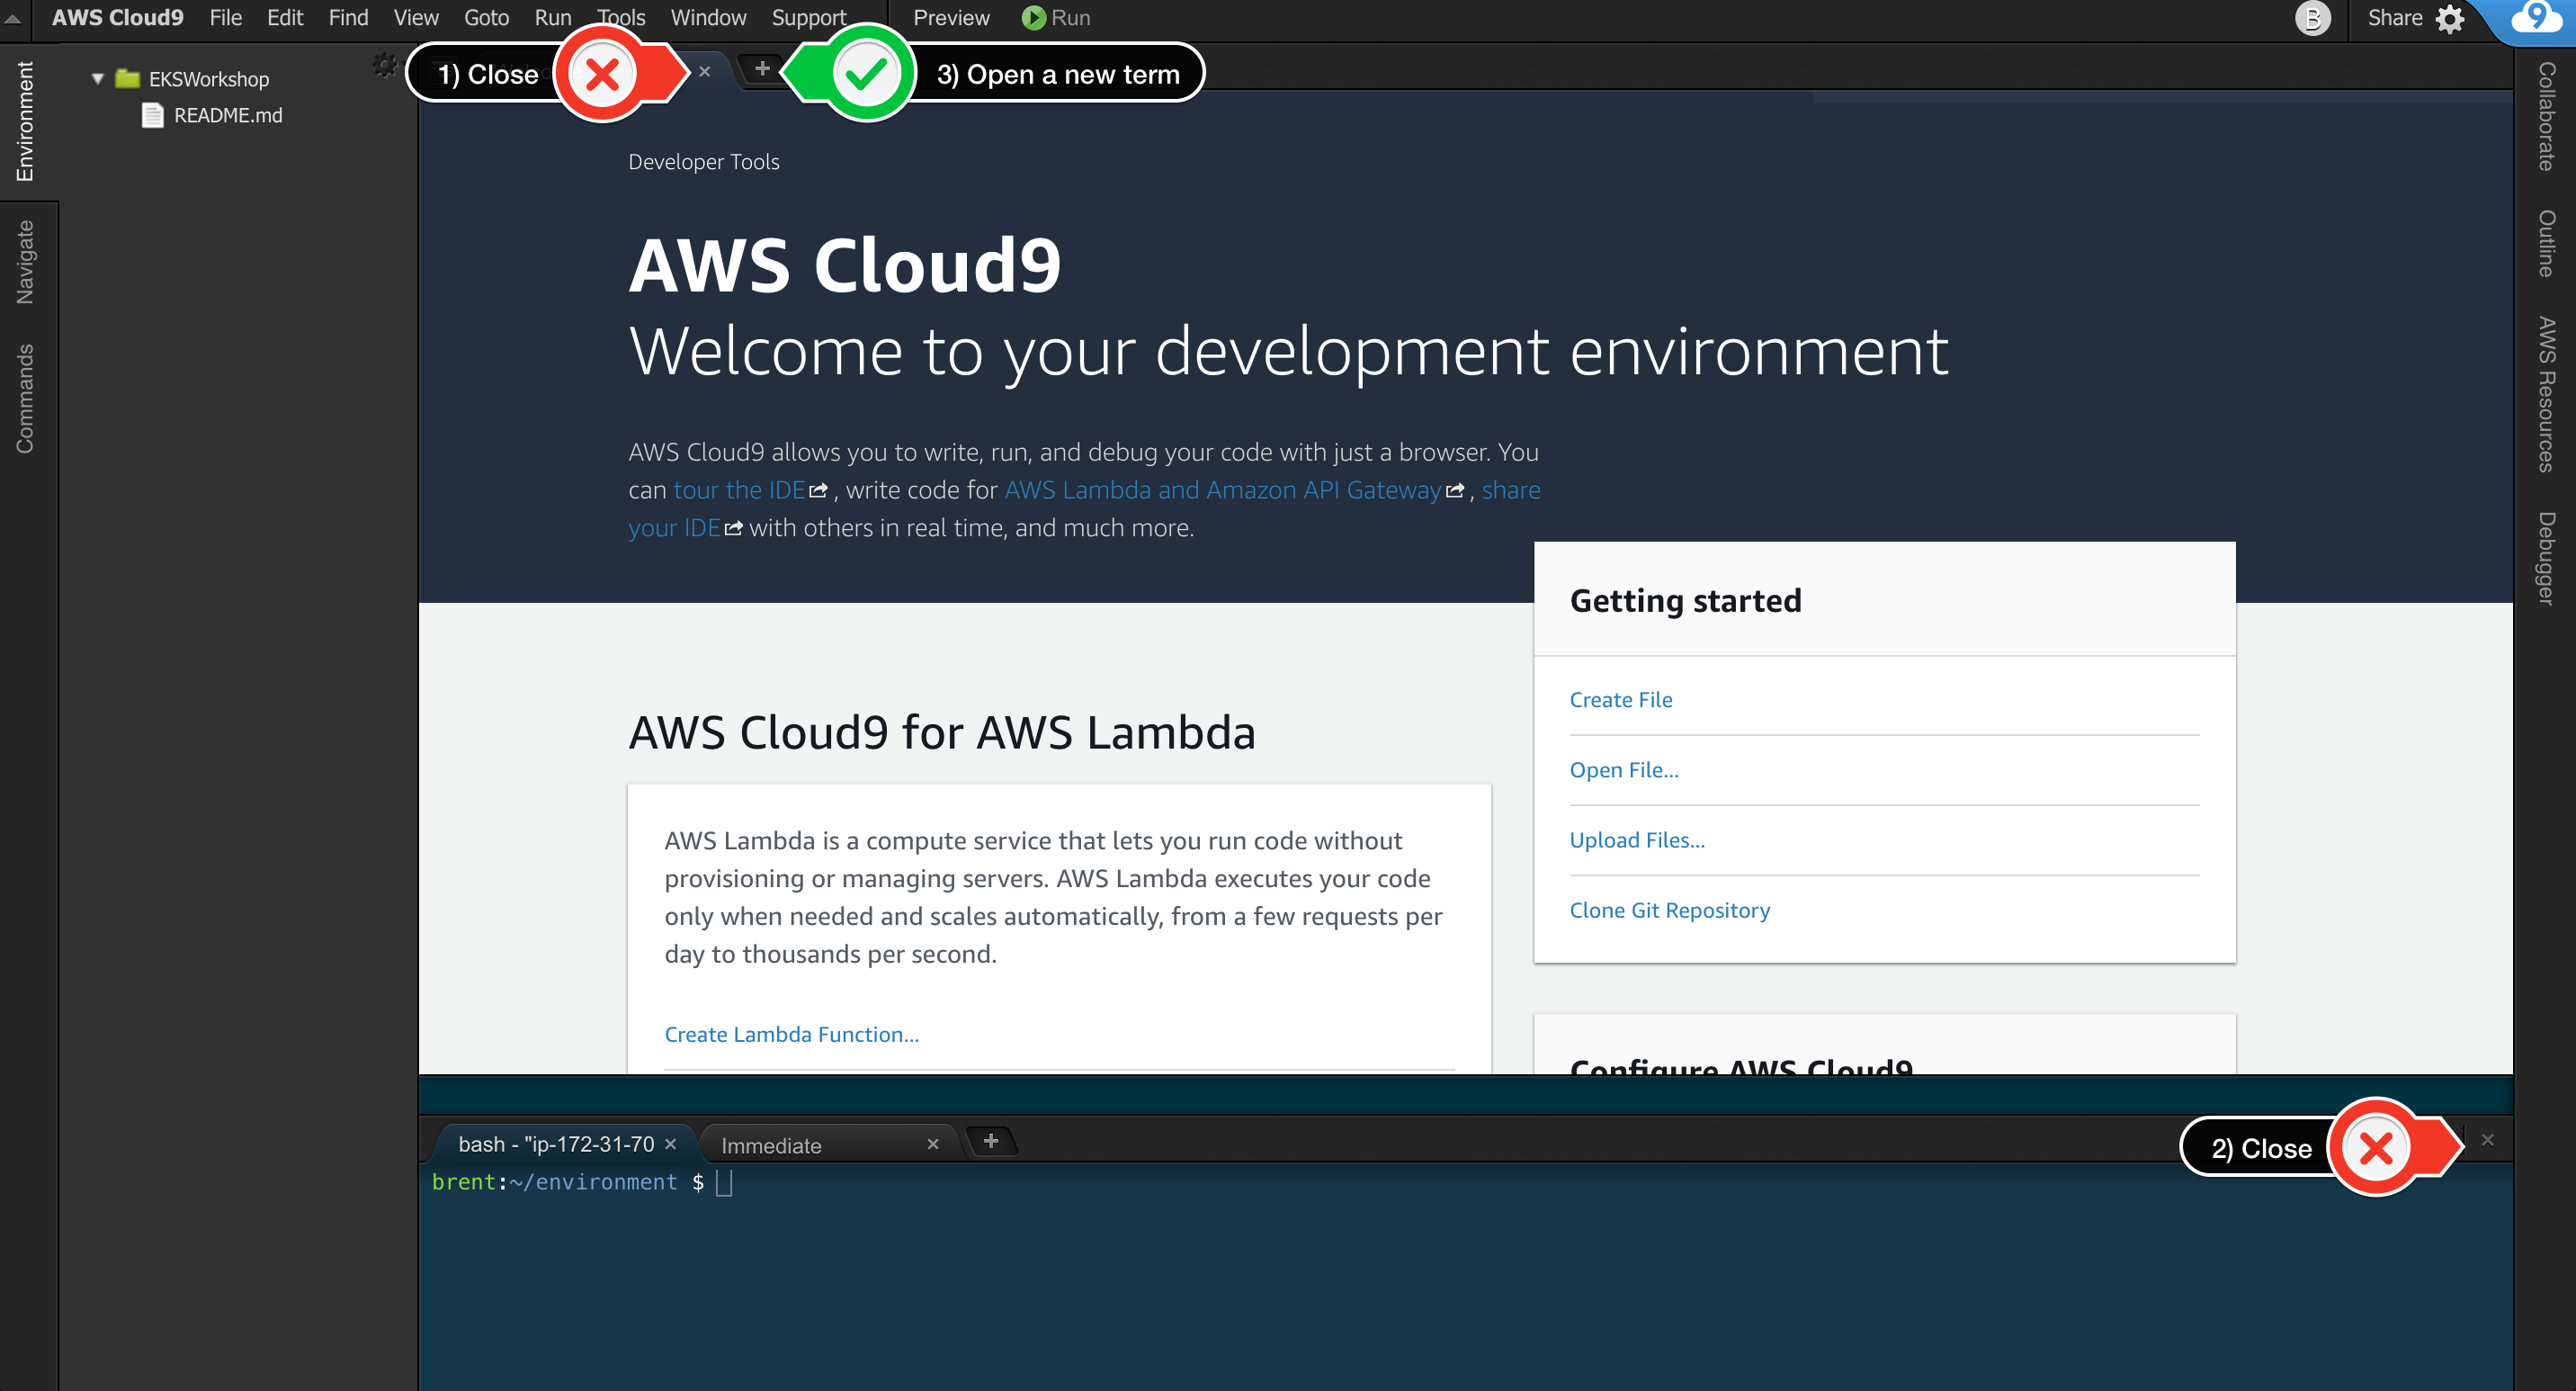
-
Your workspace should now look like this:
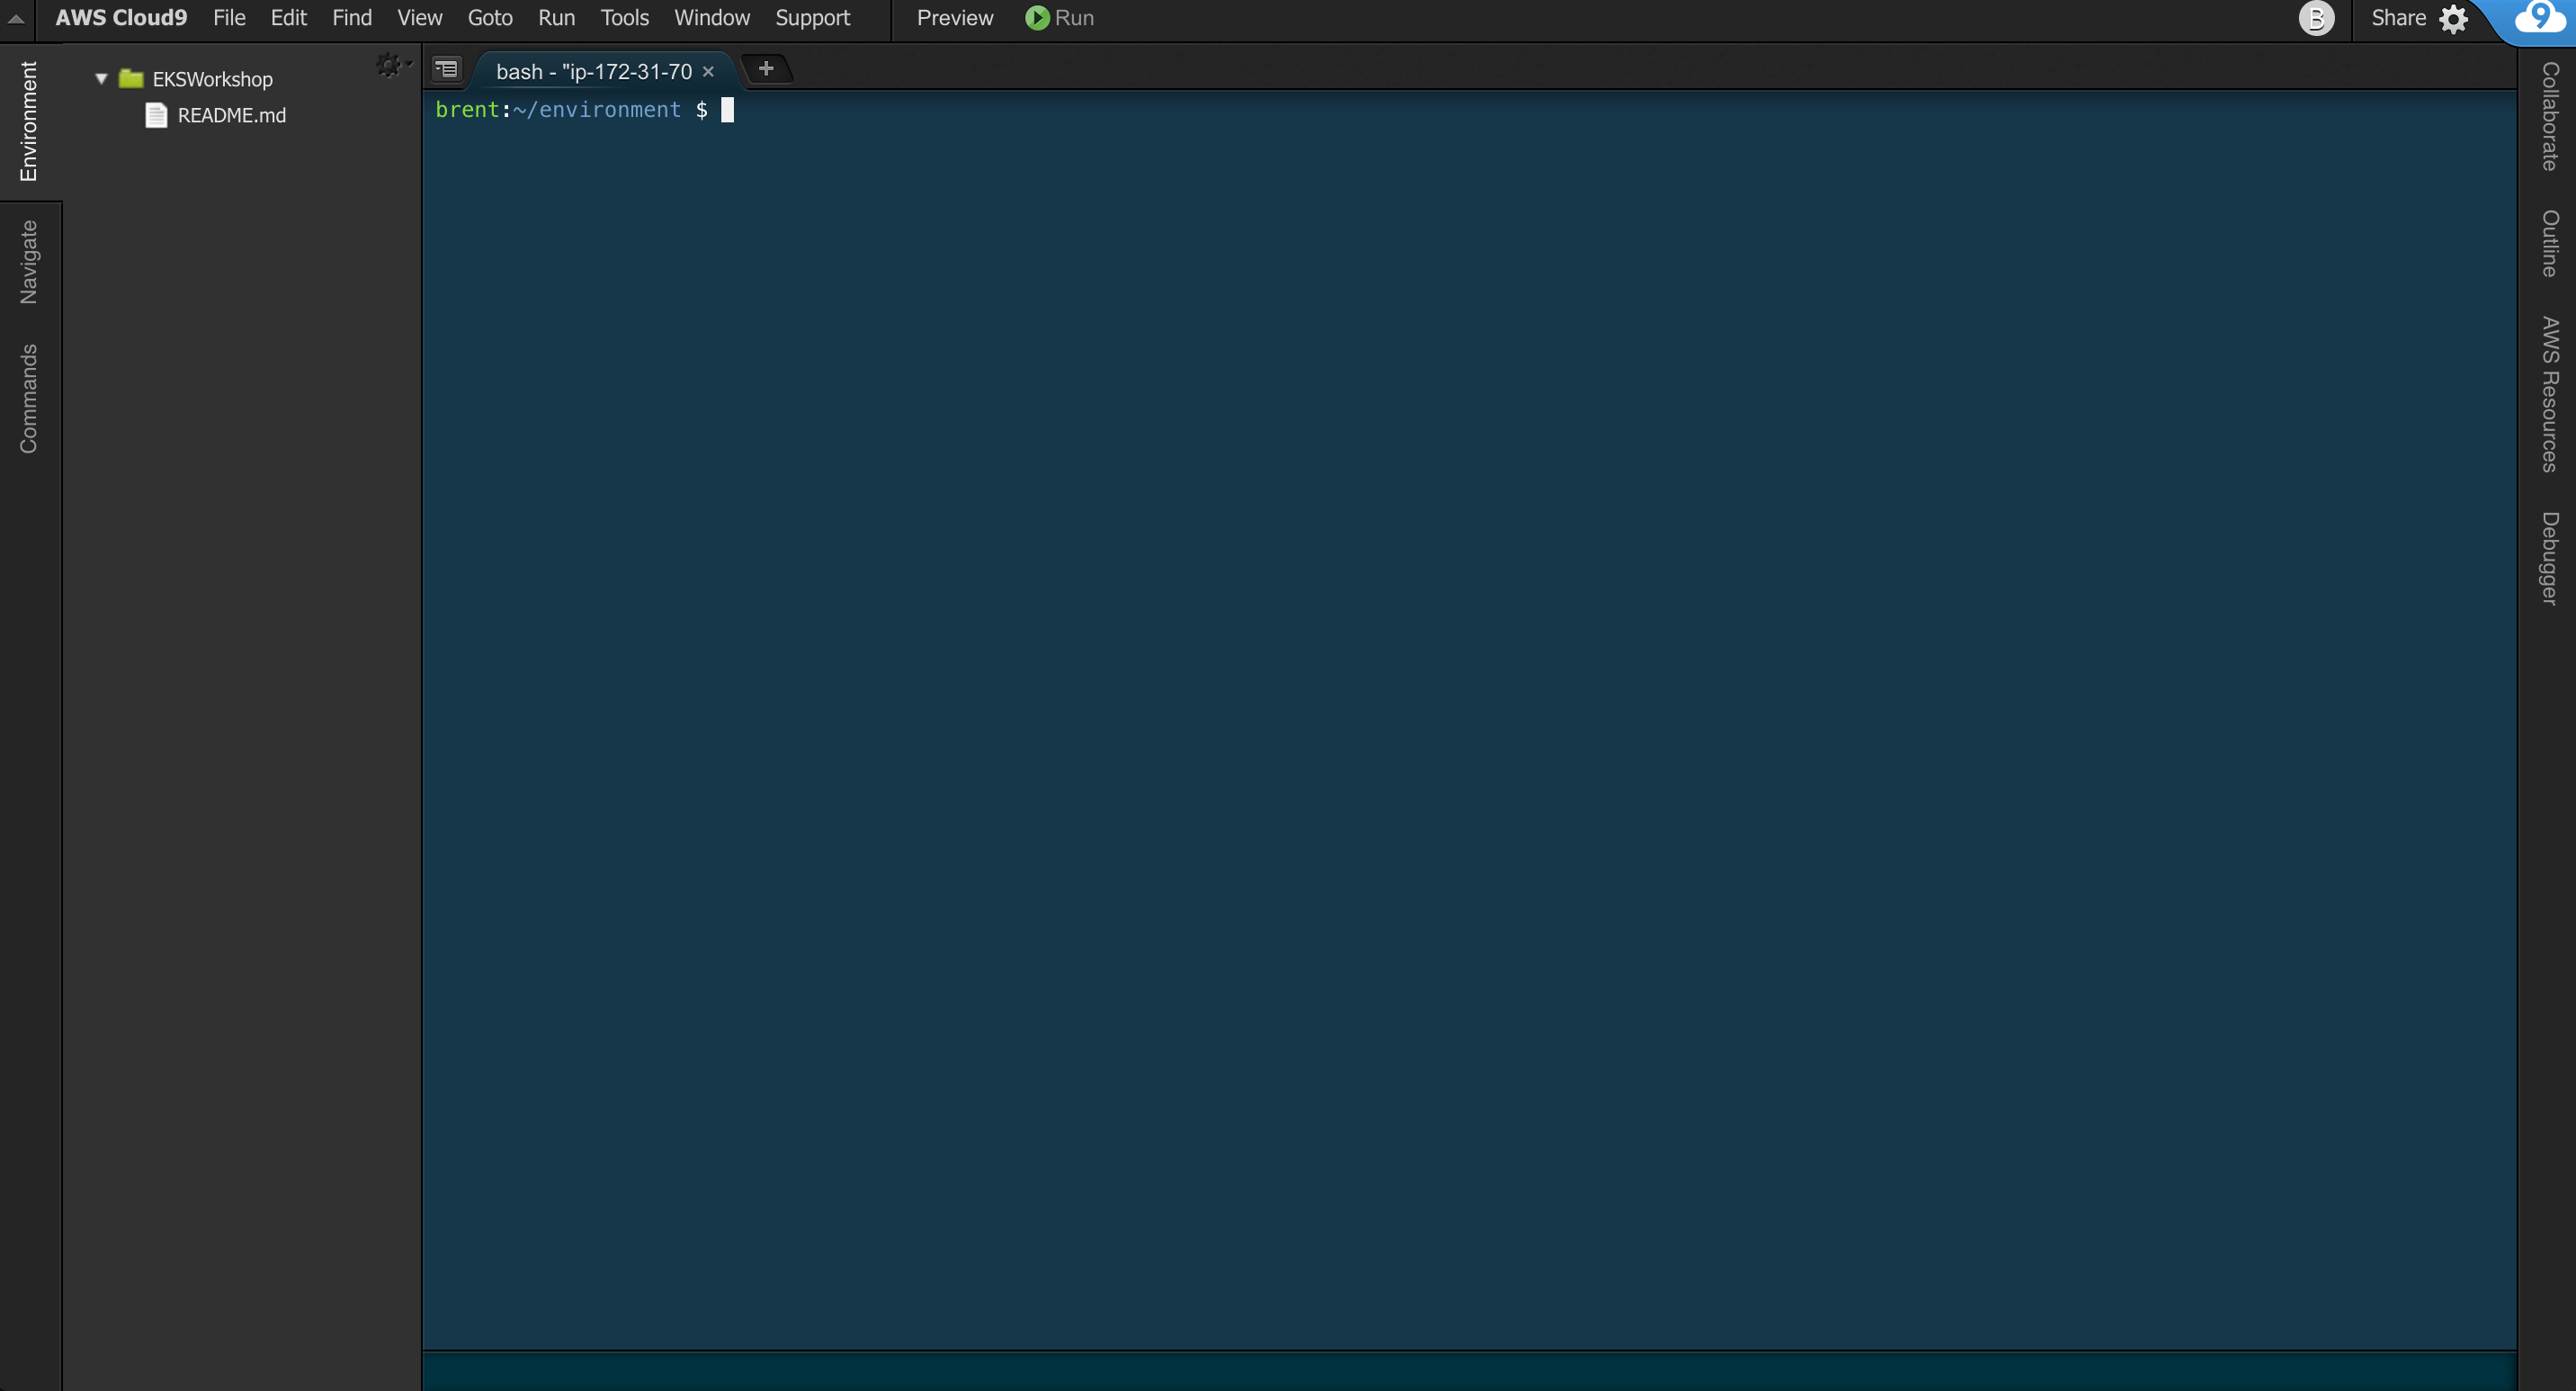
-
If you like this theme, you can choose it yourself by selecting View / Themes / Solarized / Solarized Dark in the Cloud9 workspace menu.
Note: Cloud9 normally manages IAM credentials dynamically. This isn’t currently compatible with the EKS IAM authentication, so we will disable it and rely on the IAM role instead. To do so, run the following commands in the Cloud9 workspace:
aws cloud9 update-environment --environment-id ${C9_PID} --managed-credentials-action DISABLE
rm -vf ${HOME}/.aws/credentials
You are now ready to Test the Cluster